
Silk-dyed egg tutorial – Happy Easter!
I'm sitting here in country Wagga for the Easter break, typing on Mum's laptop, looking out the window watching my nieces run riot around the veggie patch. Today's post photos and instructions have been generously supplied by one of the stitching ladies – Di (or Aunty Di as she's more affectionately known), with photography by Mum. I don't have my usual photo editing program here so we'll see how we go.
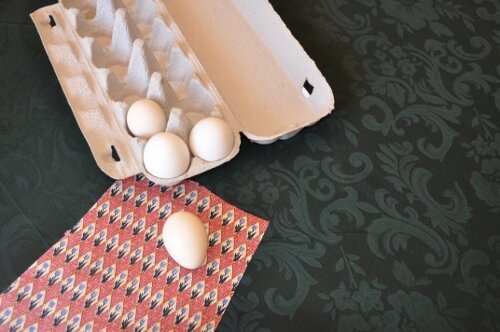
What you will need: white eggs (with the insides blown, or syringed out) – and yes, they need to be white shells for best effect, a silk tie (or several with different patterns, depending on how many you want to make) cut into a piece approx 20 x 25cm for each egg (enough to wrap the egg entirely),3 tablespoons of vinegar, thick cotton thread, an old cotton handkerchief and elastic band for each egg and a saucepan for boiling the egg/s.
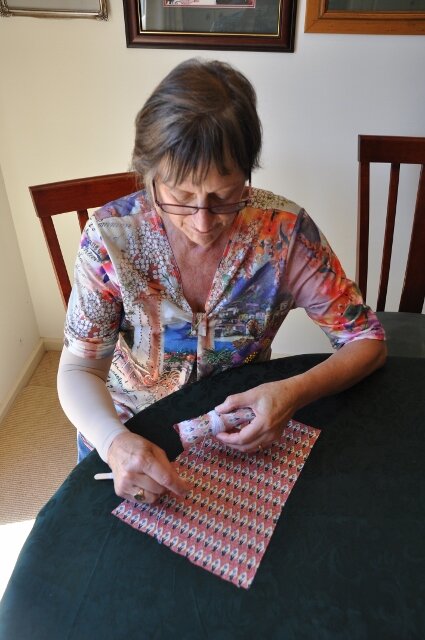
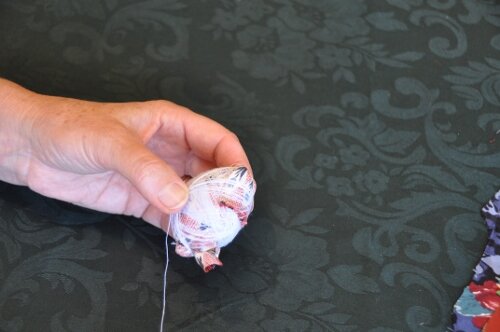
Roll the egg in the fabric as if you were making a bon-bon, with the pattern of the fabric inside towards the egg. Begin to wrap the cotton thread around the egg.
 Once the fabric is secure and the centre part of the egg is covered with thread, the ends need to be gathered – again, a bit like a bon-bon. Thread a needle and do a running stitch at each end of the egg, to gather the fabric in, as shown below.
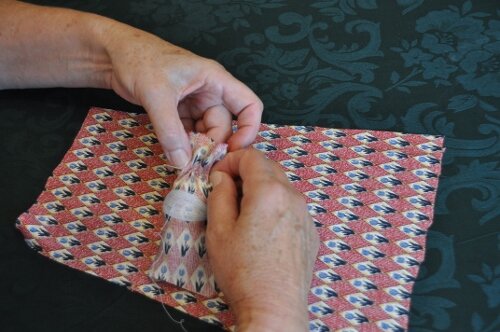
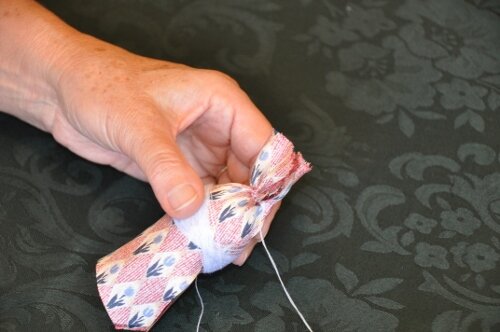 Fold each of the gathered fabric ends in and continue to wrap the egg with the cotton thread.
 Keeping wrapping until the egg is completely covered and none of the silk can be seen.
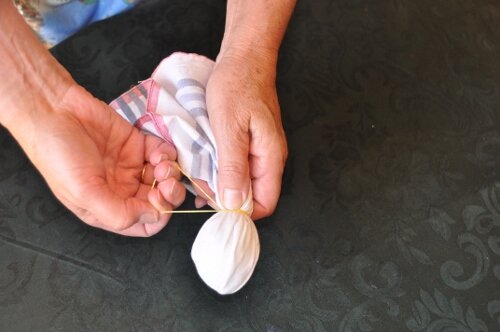
 Now, Di likes to reuse her thread, so she doesn't tie a knot in it once the egg is wrapped. To keep it from unraveling while in the boiling water, she wraps it in an old cotton handkerchief and secures it with an elastic band.
 Place the egg/s in a saucepan of water so they're fully submerged (place a plate on top of them to keep them that way), add the vinegar and bring the water to the boil. Simmer gently for 20 mins.
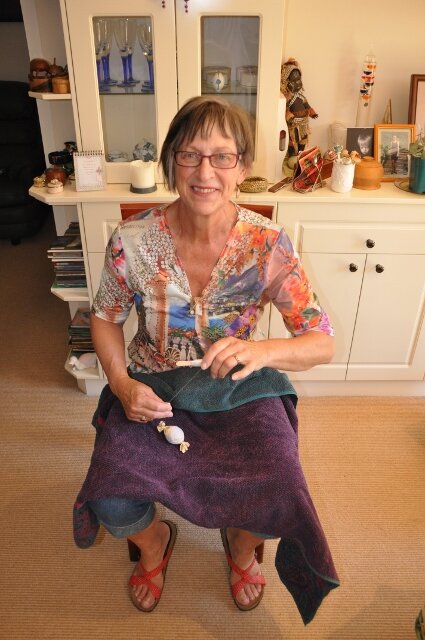
Once you've removed them from the water, remember the eggs are hollow and will have filled with water, so be very careful when you unwrap them. It's best to drain them and wait until they are cool. Di unwraps hers with a towel on her lap and winds the thread back onto a spool for reuse.
 And now, here are the finished eggs. Aren't they just gorgeous?
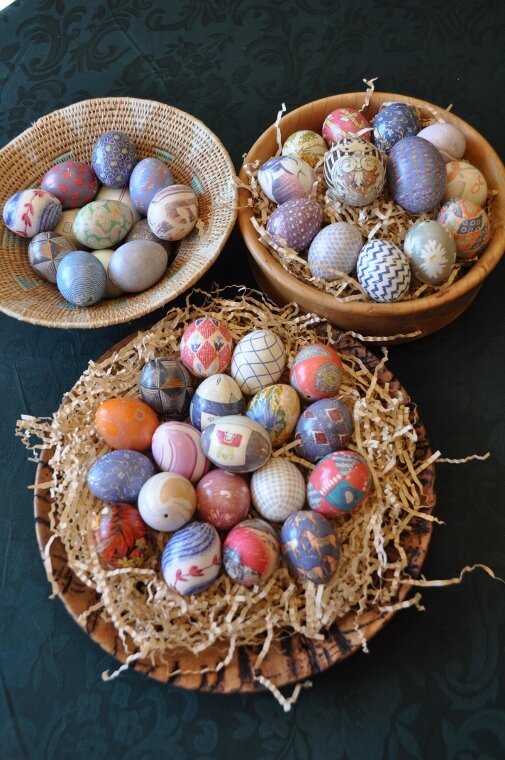
Judging from Di's filled baskets above though, they do seem to work more often than not.
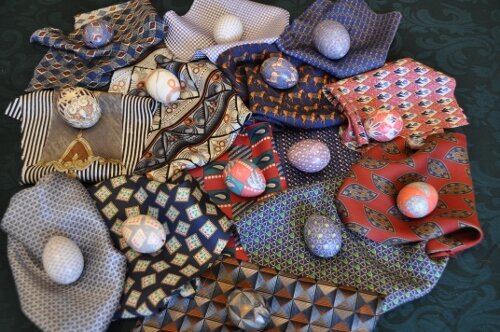
And to finish us off here's a picture of a selection of eggs with their parent ties – just lovely.
Happy Easter everyone.
What you will need: white eggs (with the insides blown, or syringed out) – and yes, they need to be white shells for best effect, a silk tie (or several with different patterns, depending on how many you want to make) cut into a piece approx 20 x 25cm for each egg (enough to wrap the egg entirely),3 tablespoons of vinegar, thick cotton thread, an old cotton handkerchief and elastic band for each egg and a saucepan for boiling the egg/s.
Roll the egg in the fabric as if you were making a bon-bon, with the pattern of the fabric inside towards the egg. Begin to wrap the cotton thread around the egg.
Once you've removed them from the water, remember the eggs are hollow and will have filled with water, so be very careful when you unwrap them. It's best to drain them and wait until they are cool. Di unwraps hers with a towel on her lap and winds the thread back onto a spool for reuse.
Disclaimer
This post needs to come with a disclaimer, as the process doesn't always work, and depending on the tie, sometimes the dye doesn't take. Absolutely make sure your tie is silk.Judging from Di's filled baskets above though, they do seem to work more often than not.
And to finish us off here's a picture of a selection of eggs with their parent ties – just lovely.
Happy Easter everyone.