Dye bliss in Bali
I can't tell you how wonderful it is being out in the world again, and what joy to feel warm and away from a cold Melbourne winter. And that's just the start – the real fun has been spending six days at Threads of Life, batiking and dyeing fabric to my heart's content.
The first two days were spent in a workshop, or induction, as I got to learn about the studio and their processes as well as try out a number of different dye colours and batiking (which I hadn't done since my trip to Eswatini in 2017).
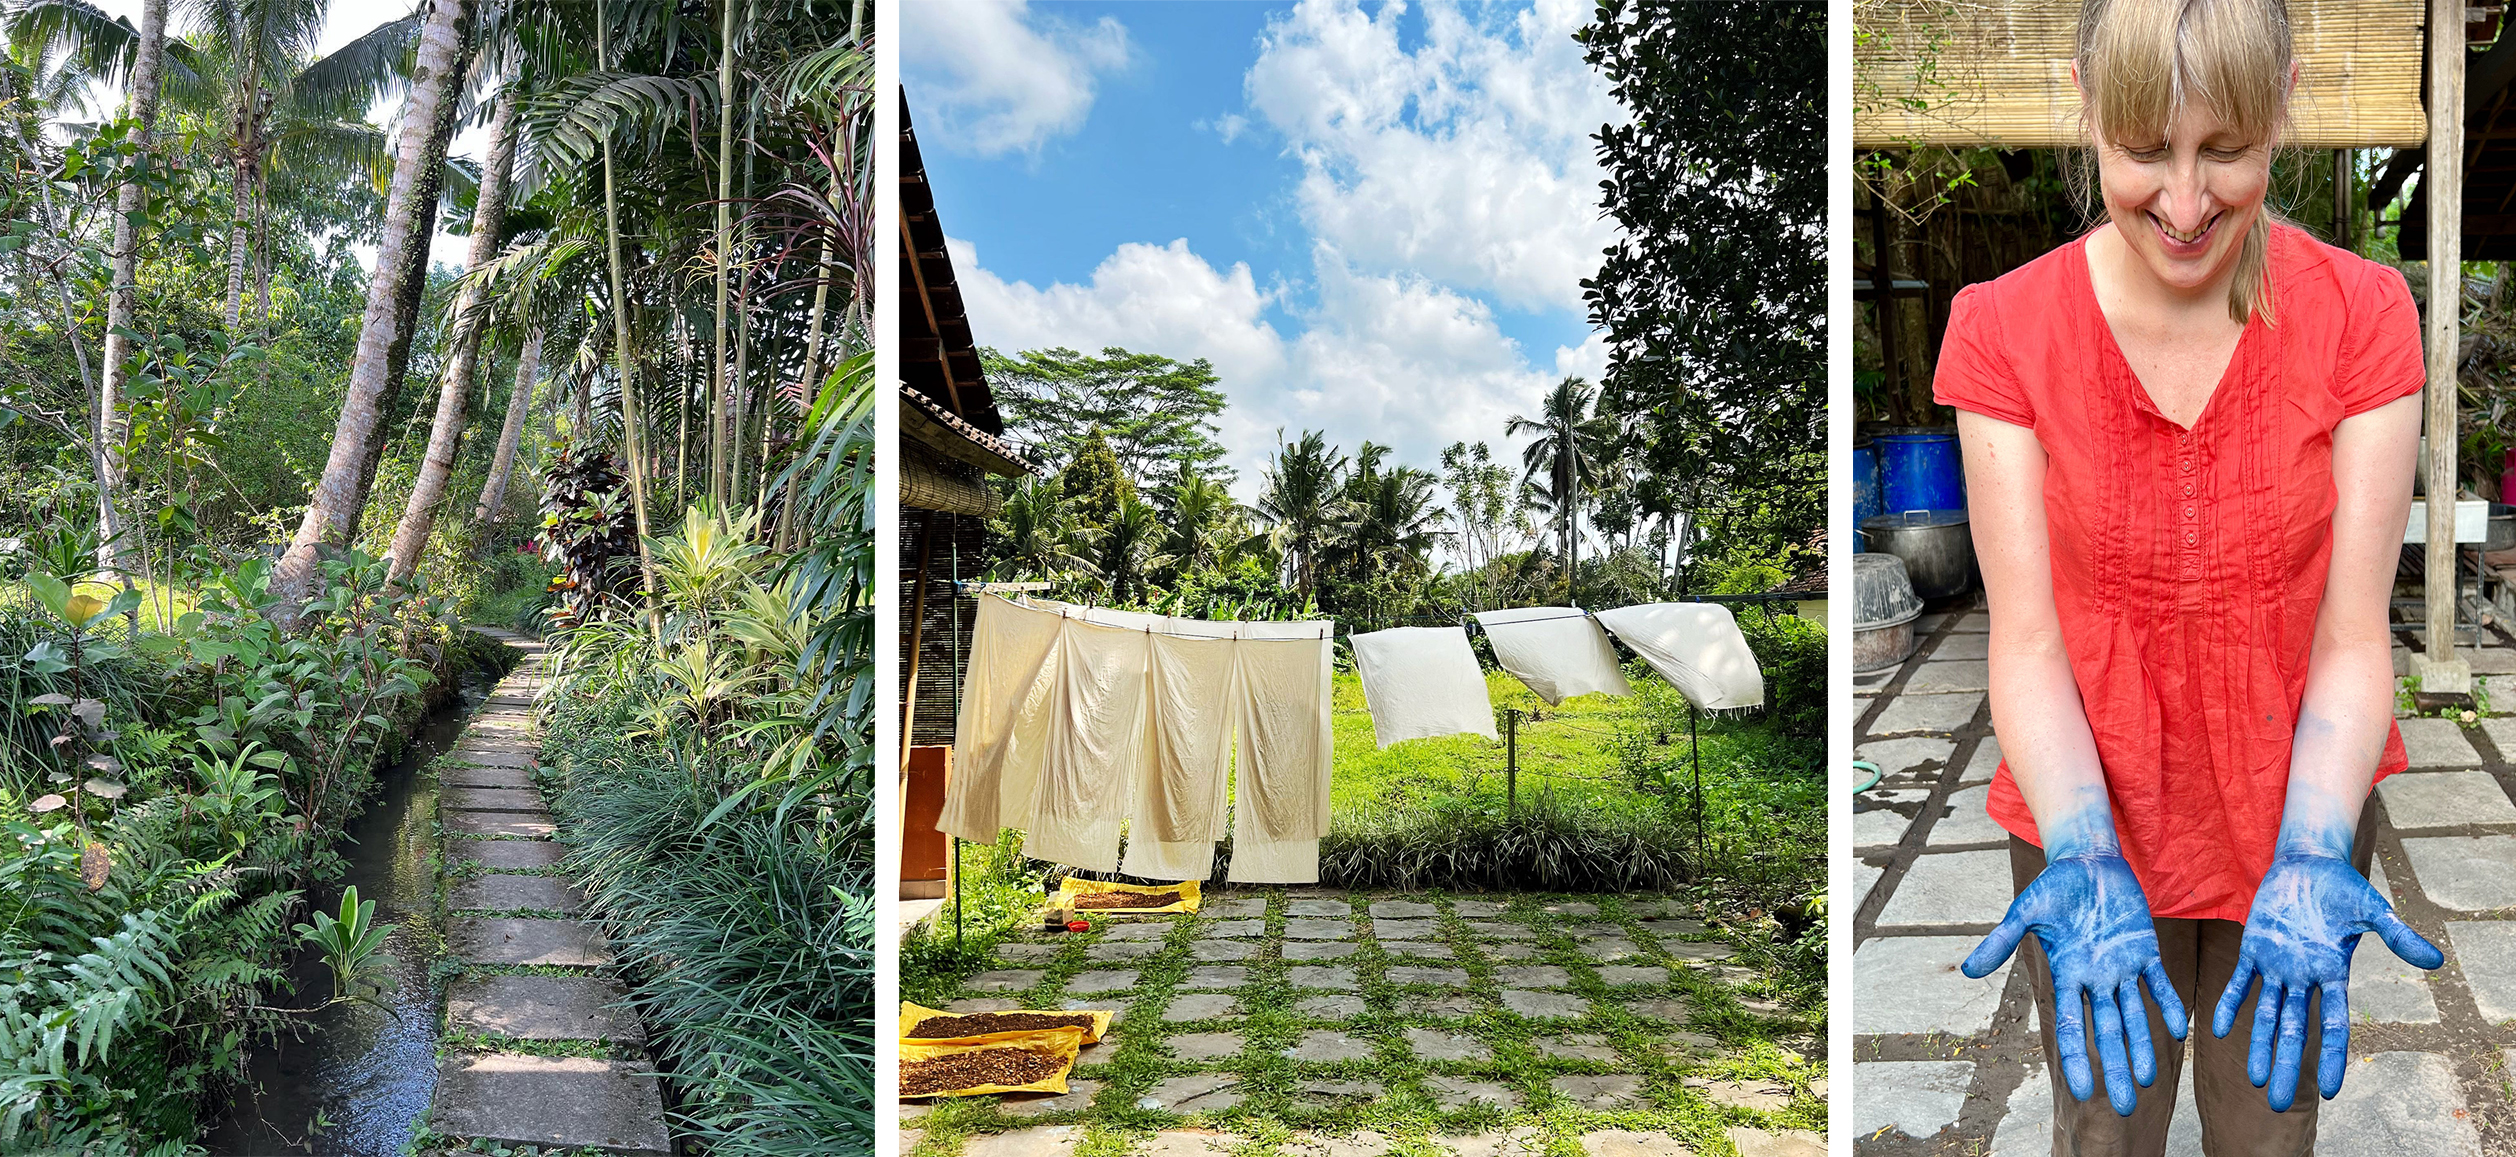
The pictures above are from the next stage of my time at Threads of Life – four days in the studio doing my own thing. The middle picture shows you where I started. I packed more of the natural Japanese cotton that I had about a bolt and a half of from an estate sale. Being unbleached I knew I wouldn't end up with the crisp blues associated with indigo dye on white, but I used some of it successfully in a quilt recently and I didn't want to buy new fabric.
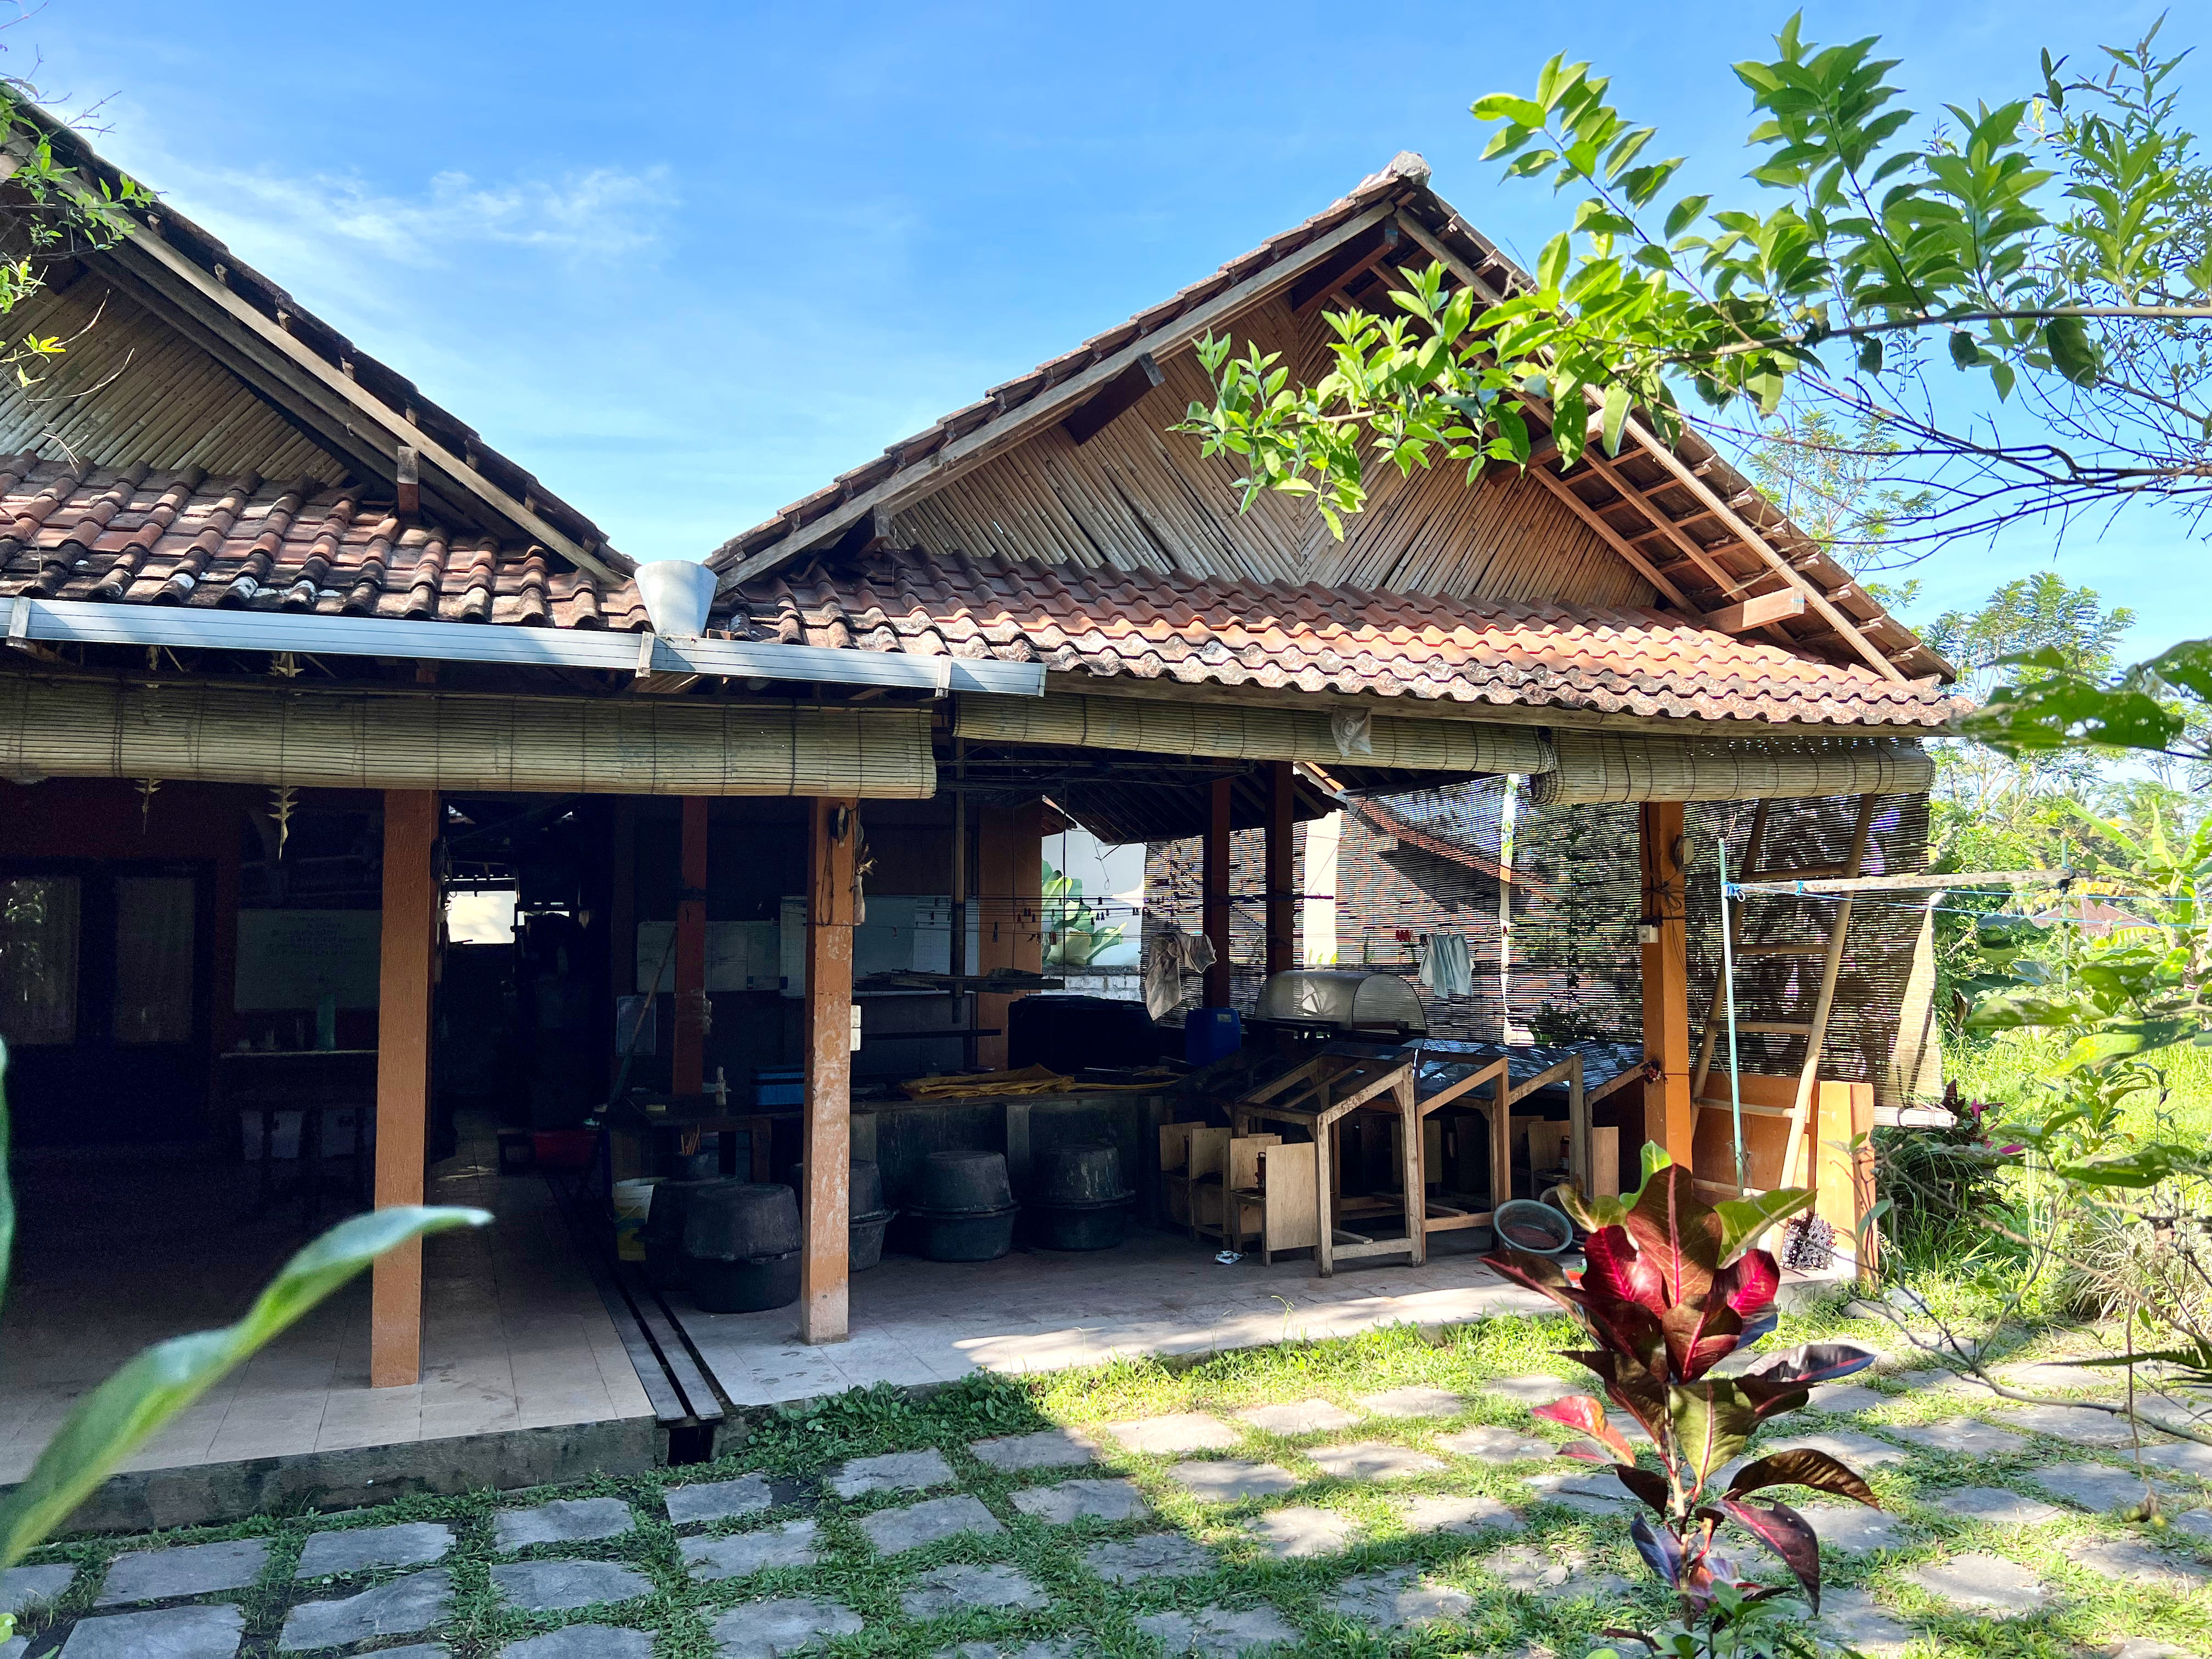
The dye studio as seen from in front of the dye garden.
Early on in my wanderings around Ubud I'd come across the Ikat Batik shops where they had many examples of batiking on a natural-coloured cotton and then dyed with indigo. I really loved the results so that convinced me I was taking the right approach.
I had intended to dye with a few other colours, but not all were available and nor were they right for dyeing in this season, so I worked with the indigo and the brown – Ceriops tagal (Indian mangrove) bark.
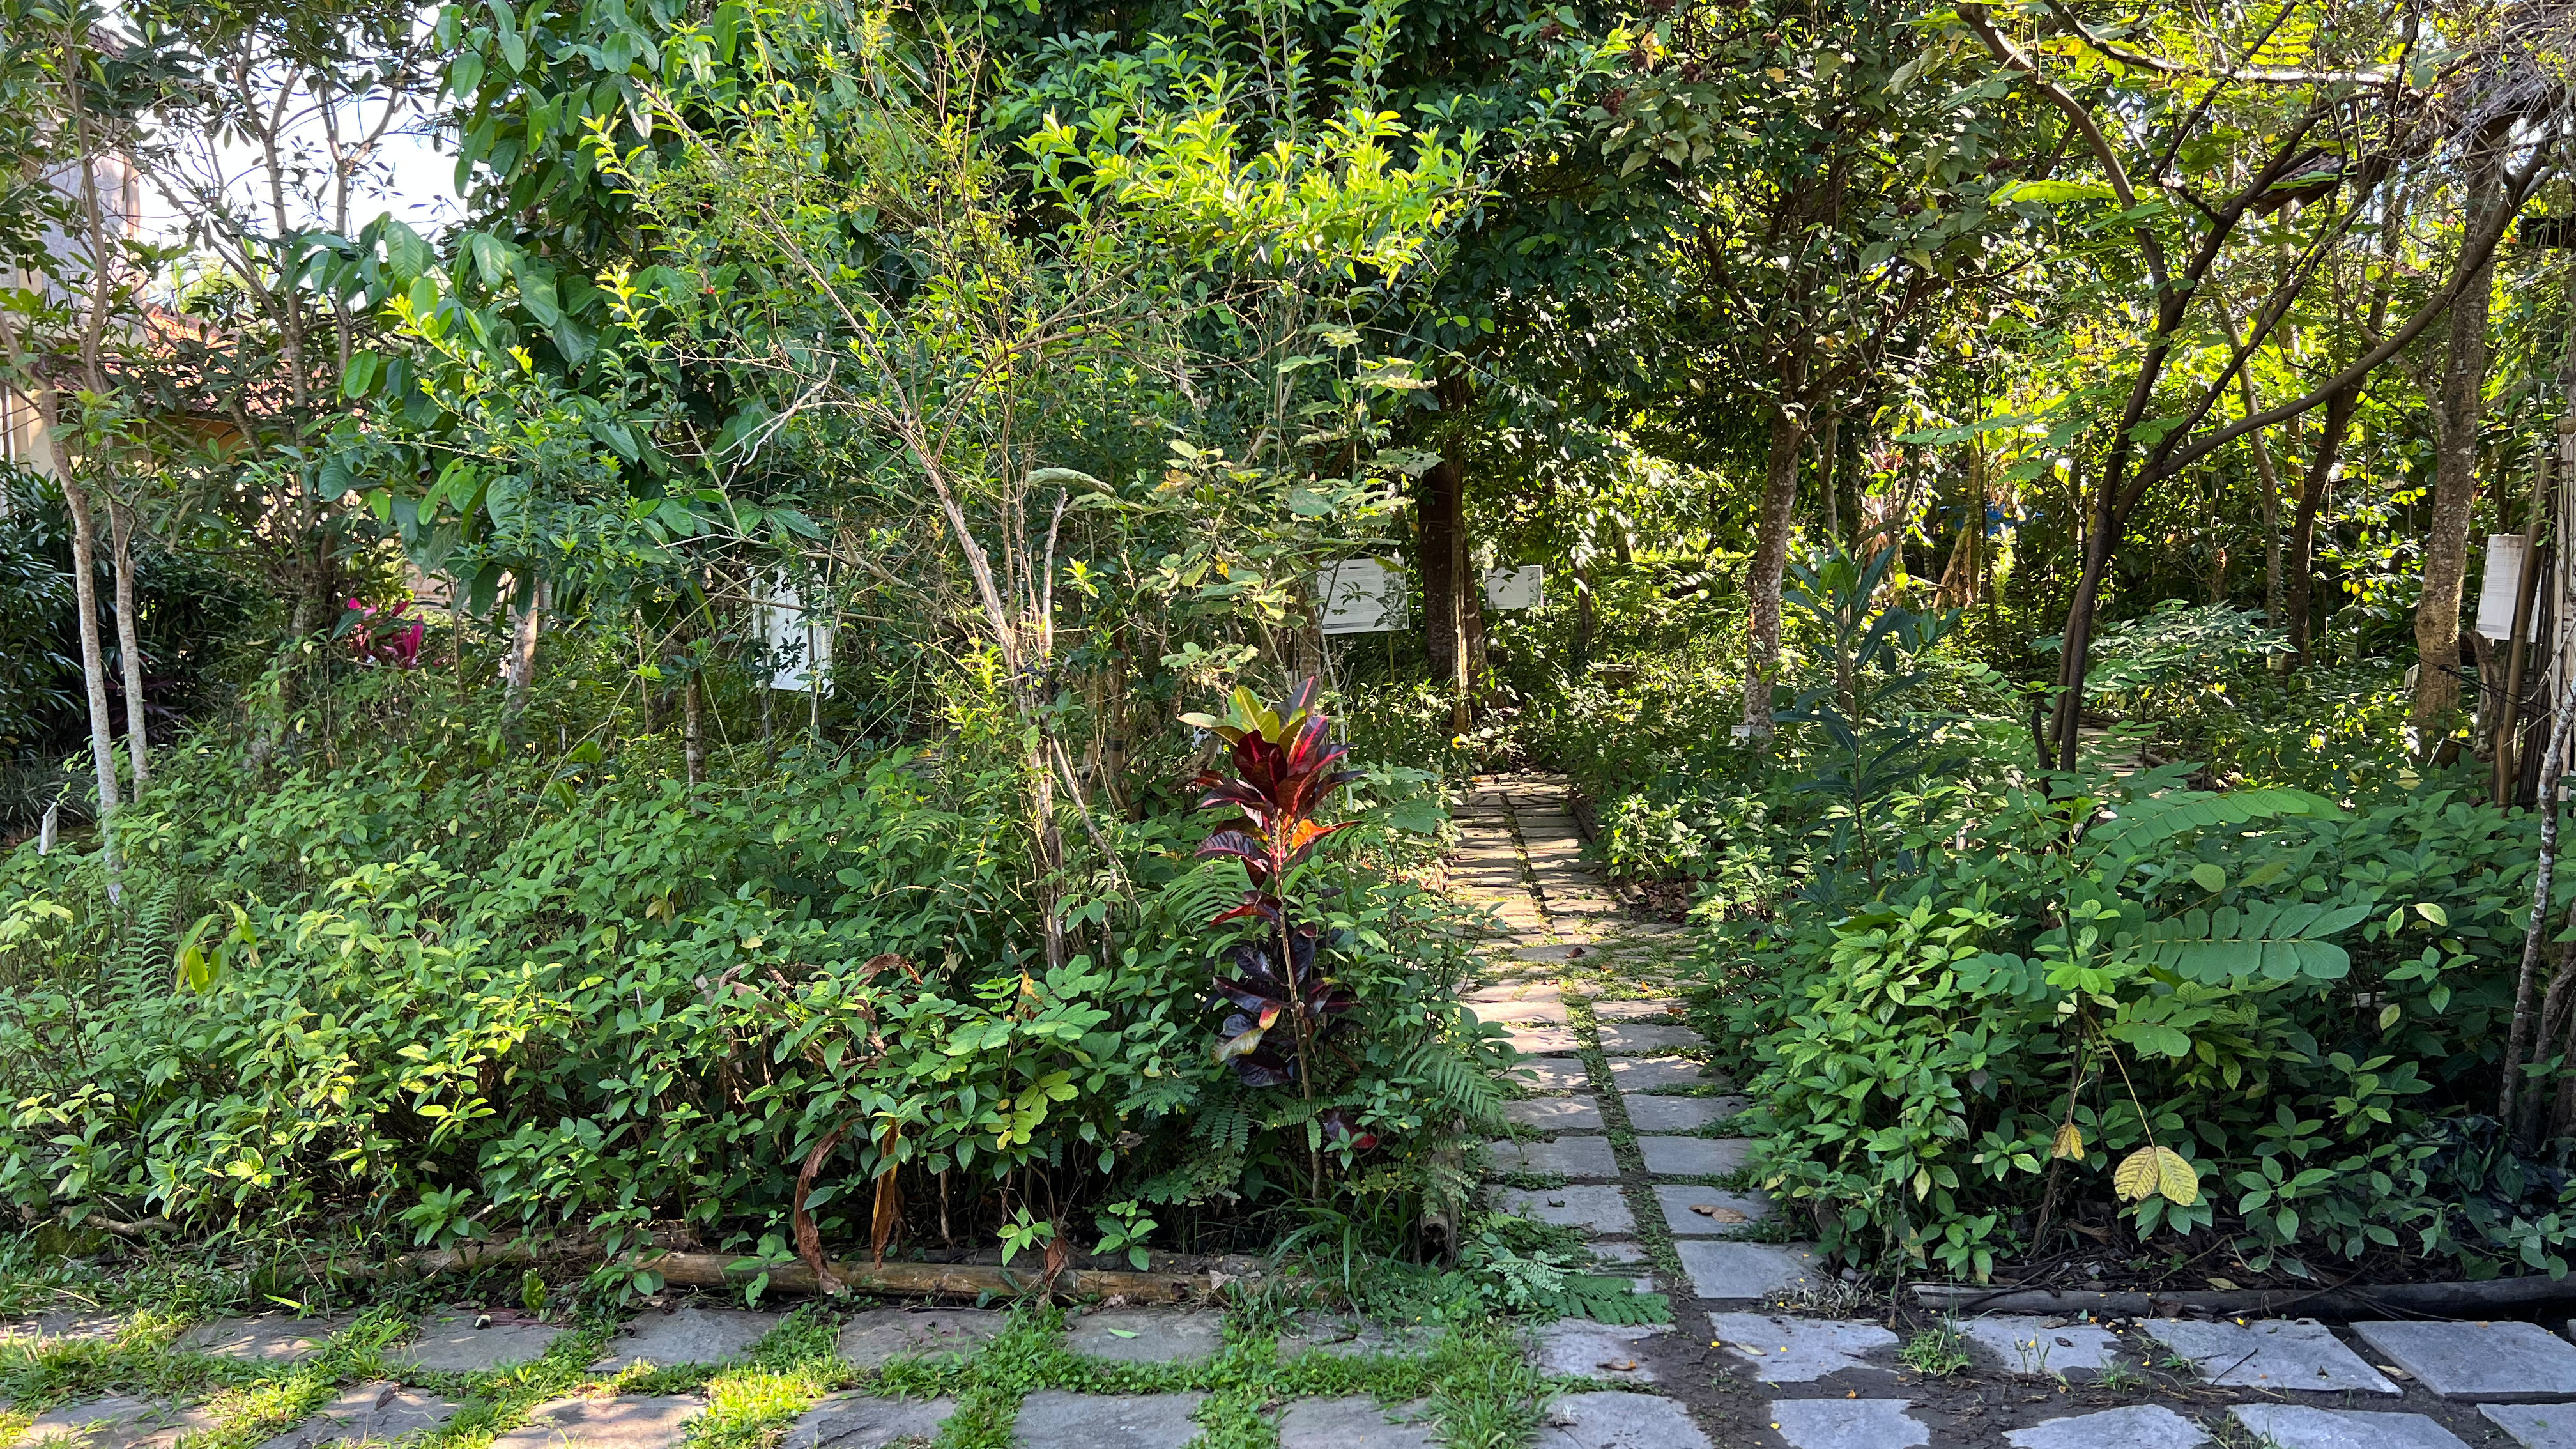
Looking at the Threads of Life dye garden from the studio. All the dye plants and mordants are labelled so you can learn about
everything you're using.
Overall, I probably spent one of the four days preparing the fabrics including scouring, stitching (for the shibori) and waxing for the batik. I had a bit of a frustrating time with the batik on the first day, but washed the wax out of two overnight and went back to much better results on day two. In the end, I wish I'd spent more time on the batik. The pieces I did were about a fat-eighth in size. I had very definite project ideas for most things before I started, and the batik does take a very long time, so maybe I'll have to save more for another trip.
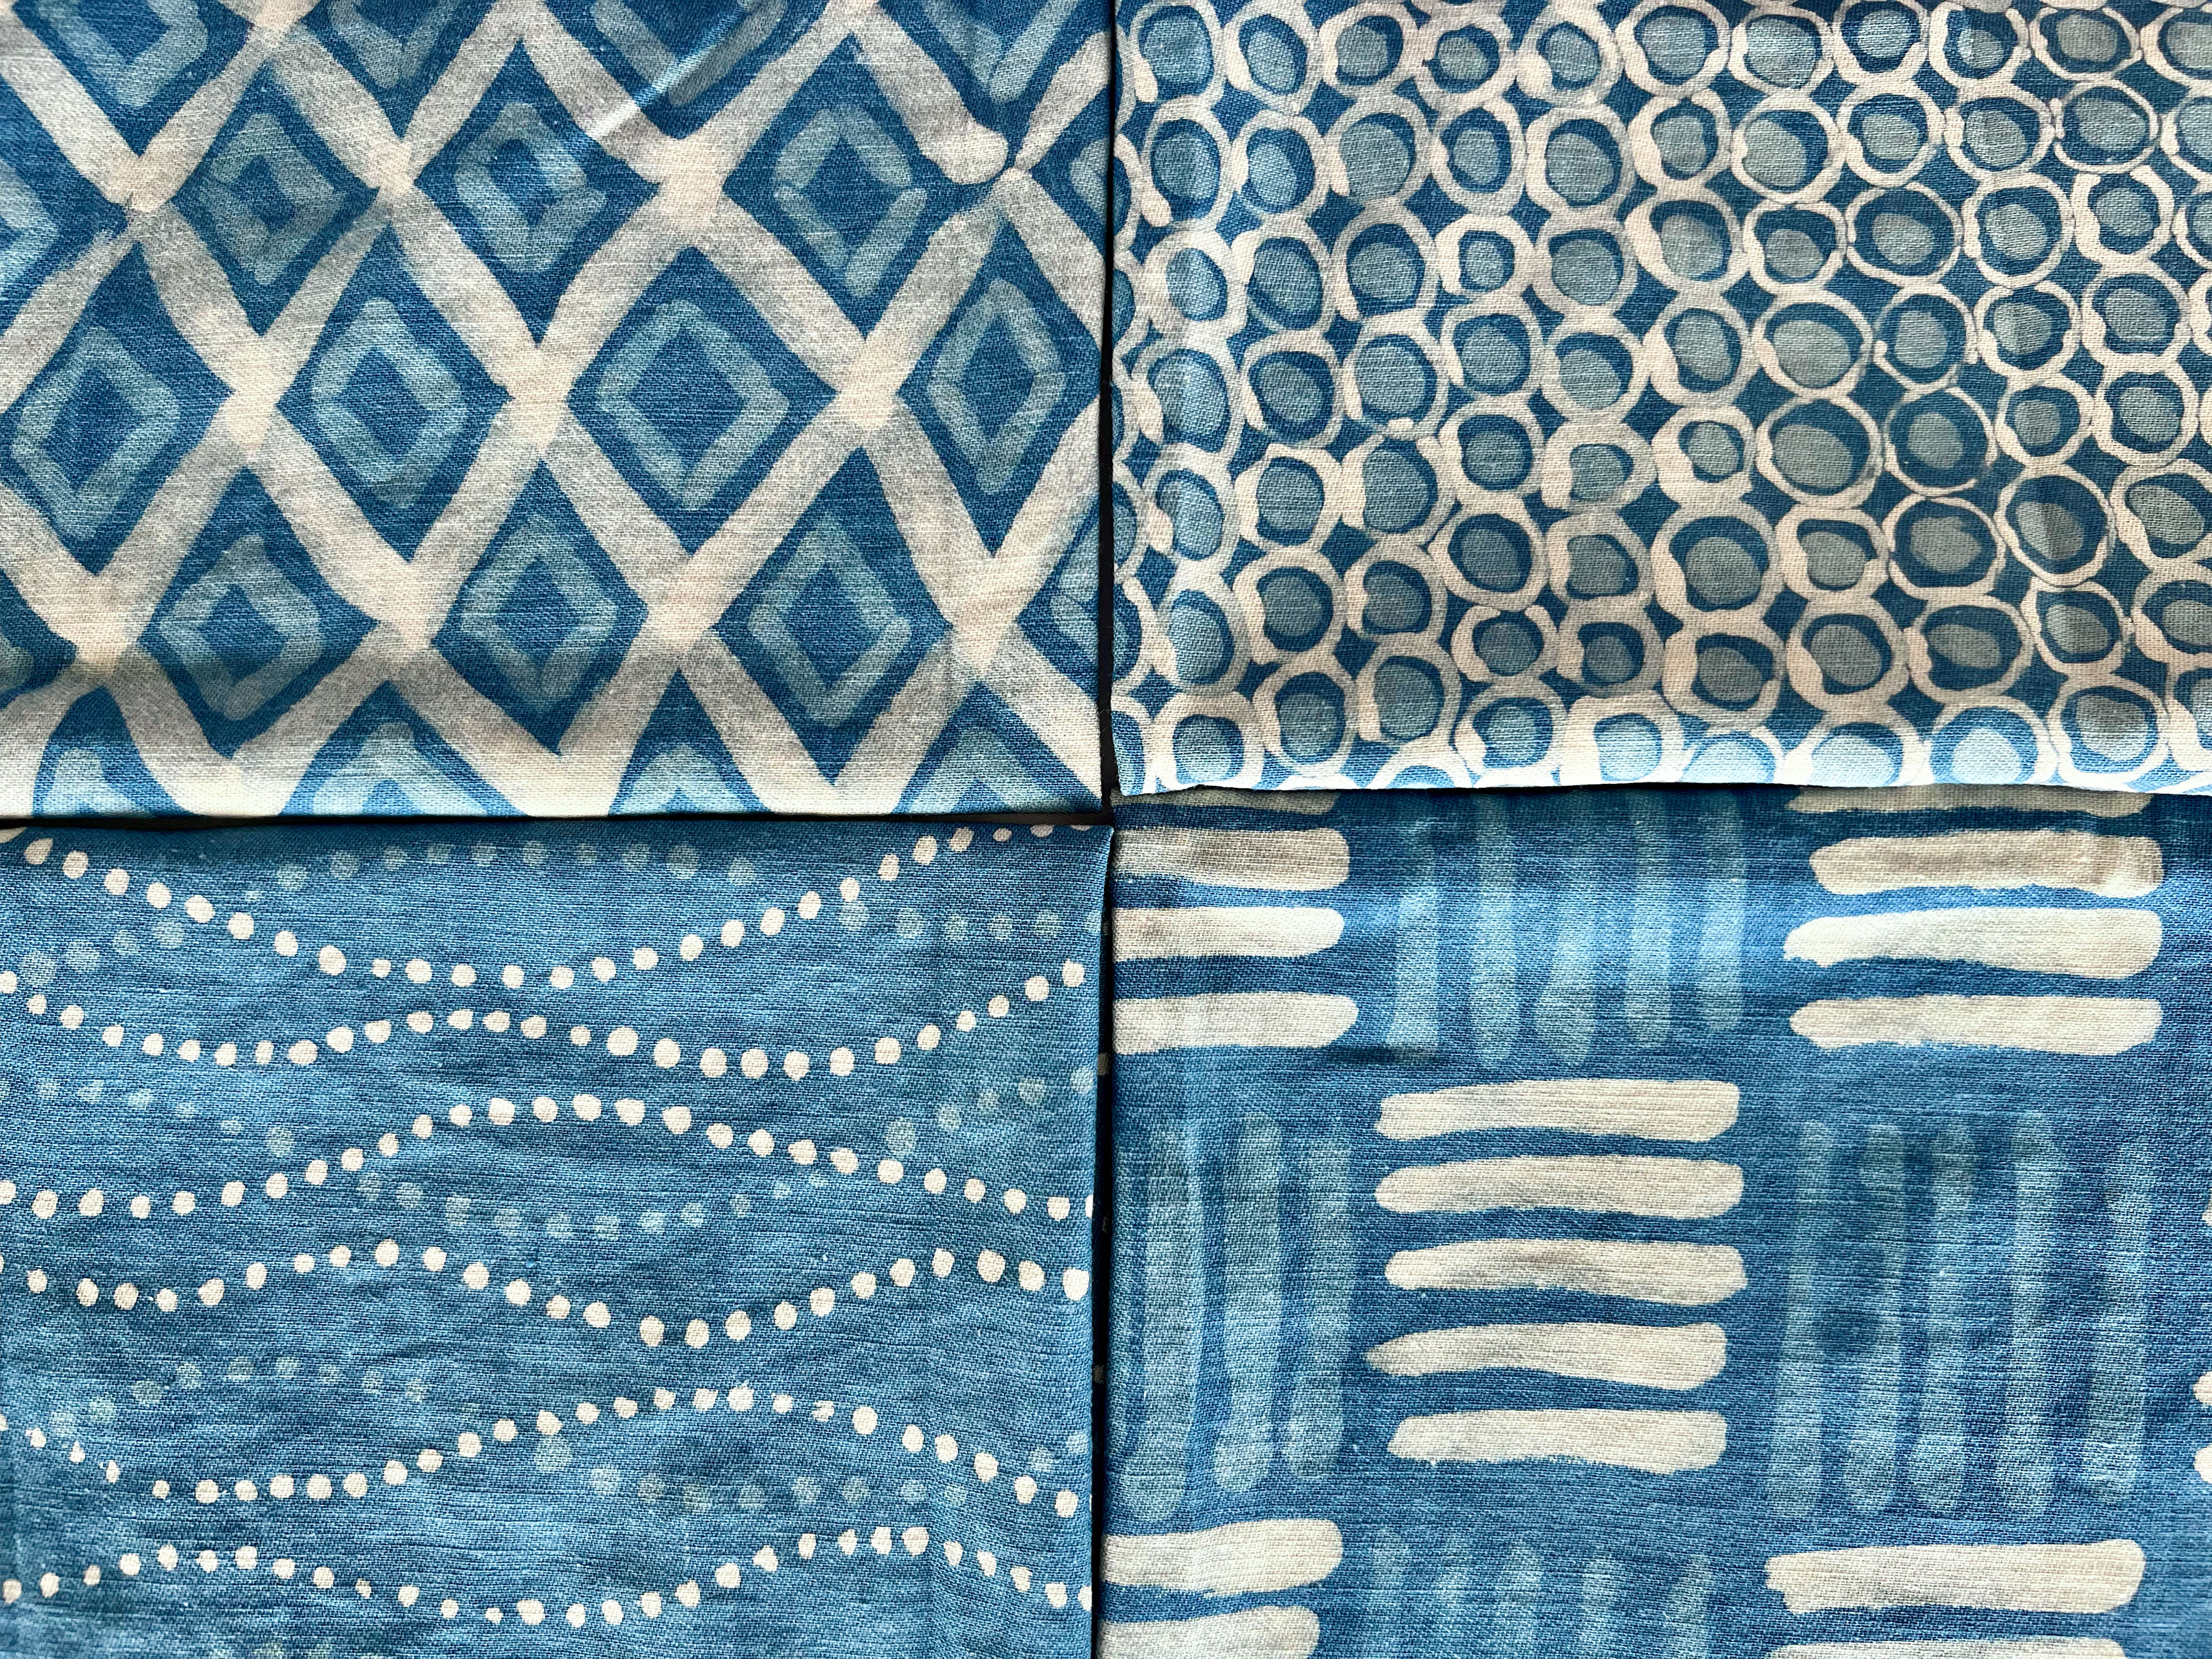
The results of my batik experiments.
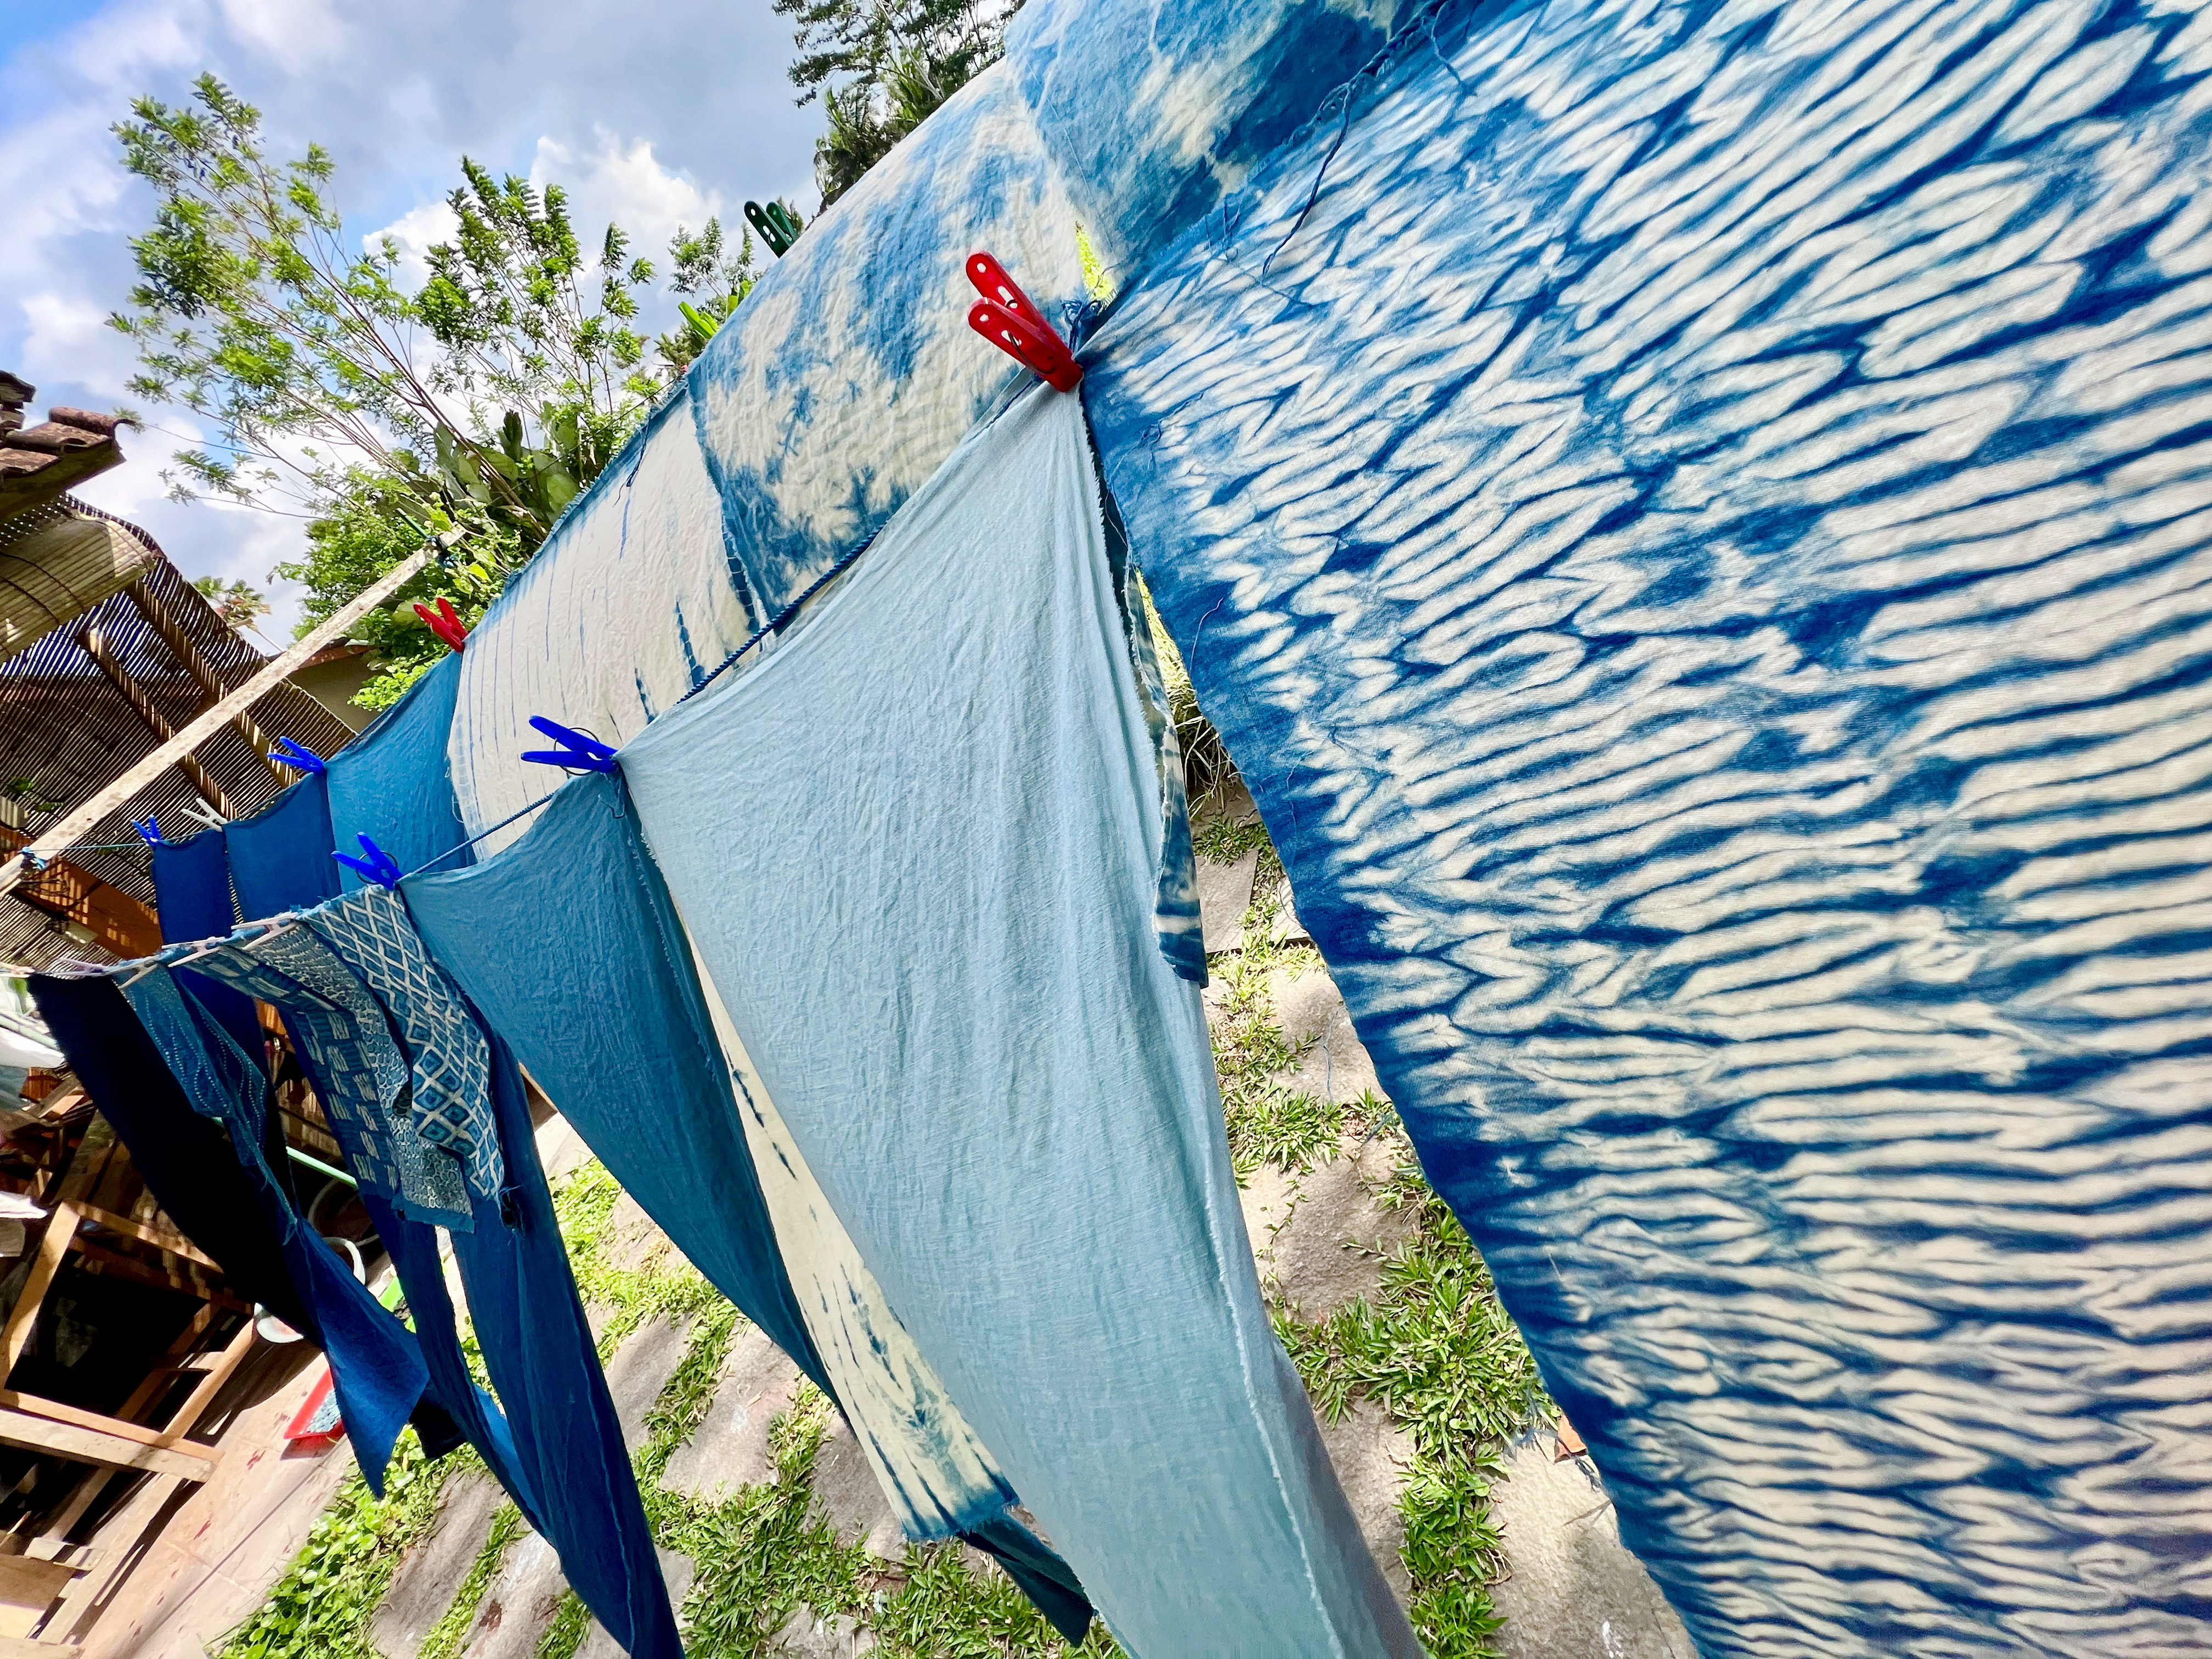
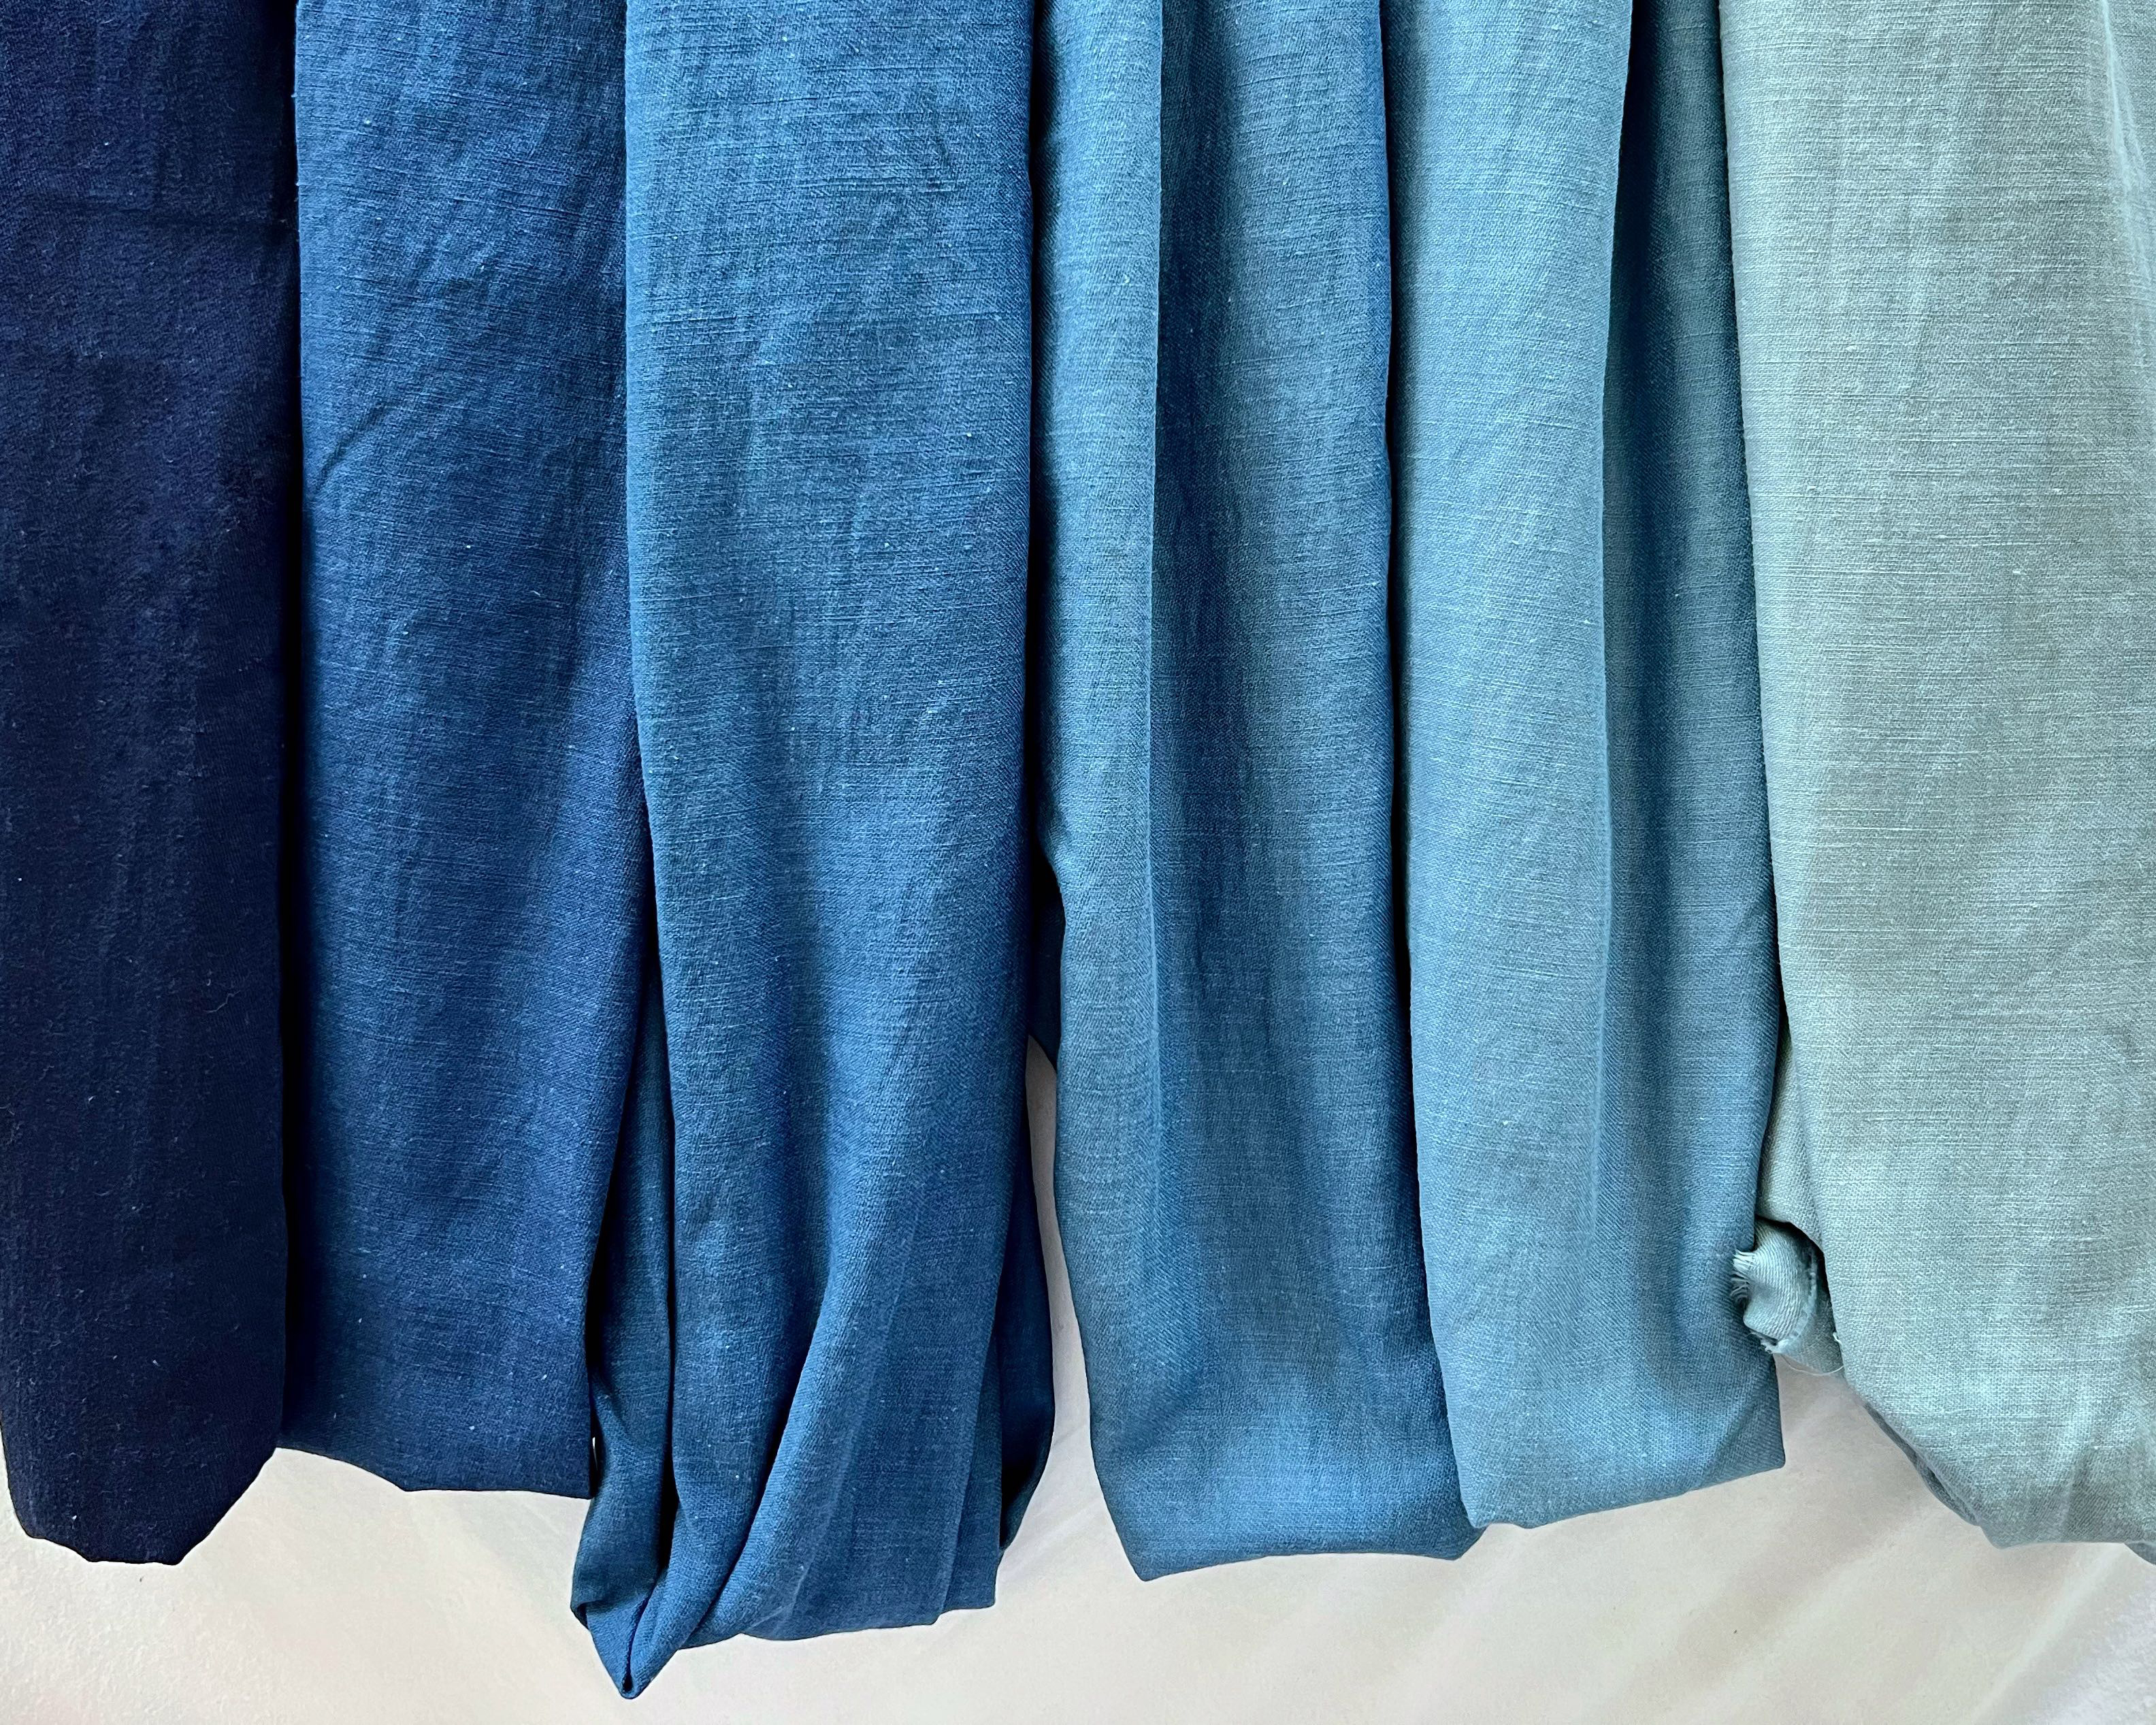
Two of my four days would have been spent in dyeing. With the blues, I wanted to achieve a gradient of colours (shown below). It's not perfect by any means, but I'm really happy with it as a first attempt. I will be combining these with the original colour of cotton to make a pieced quilt (although it's likely on the list for 2023 given the things I have organised for the rest of this year).
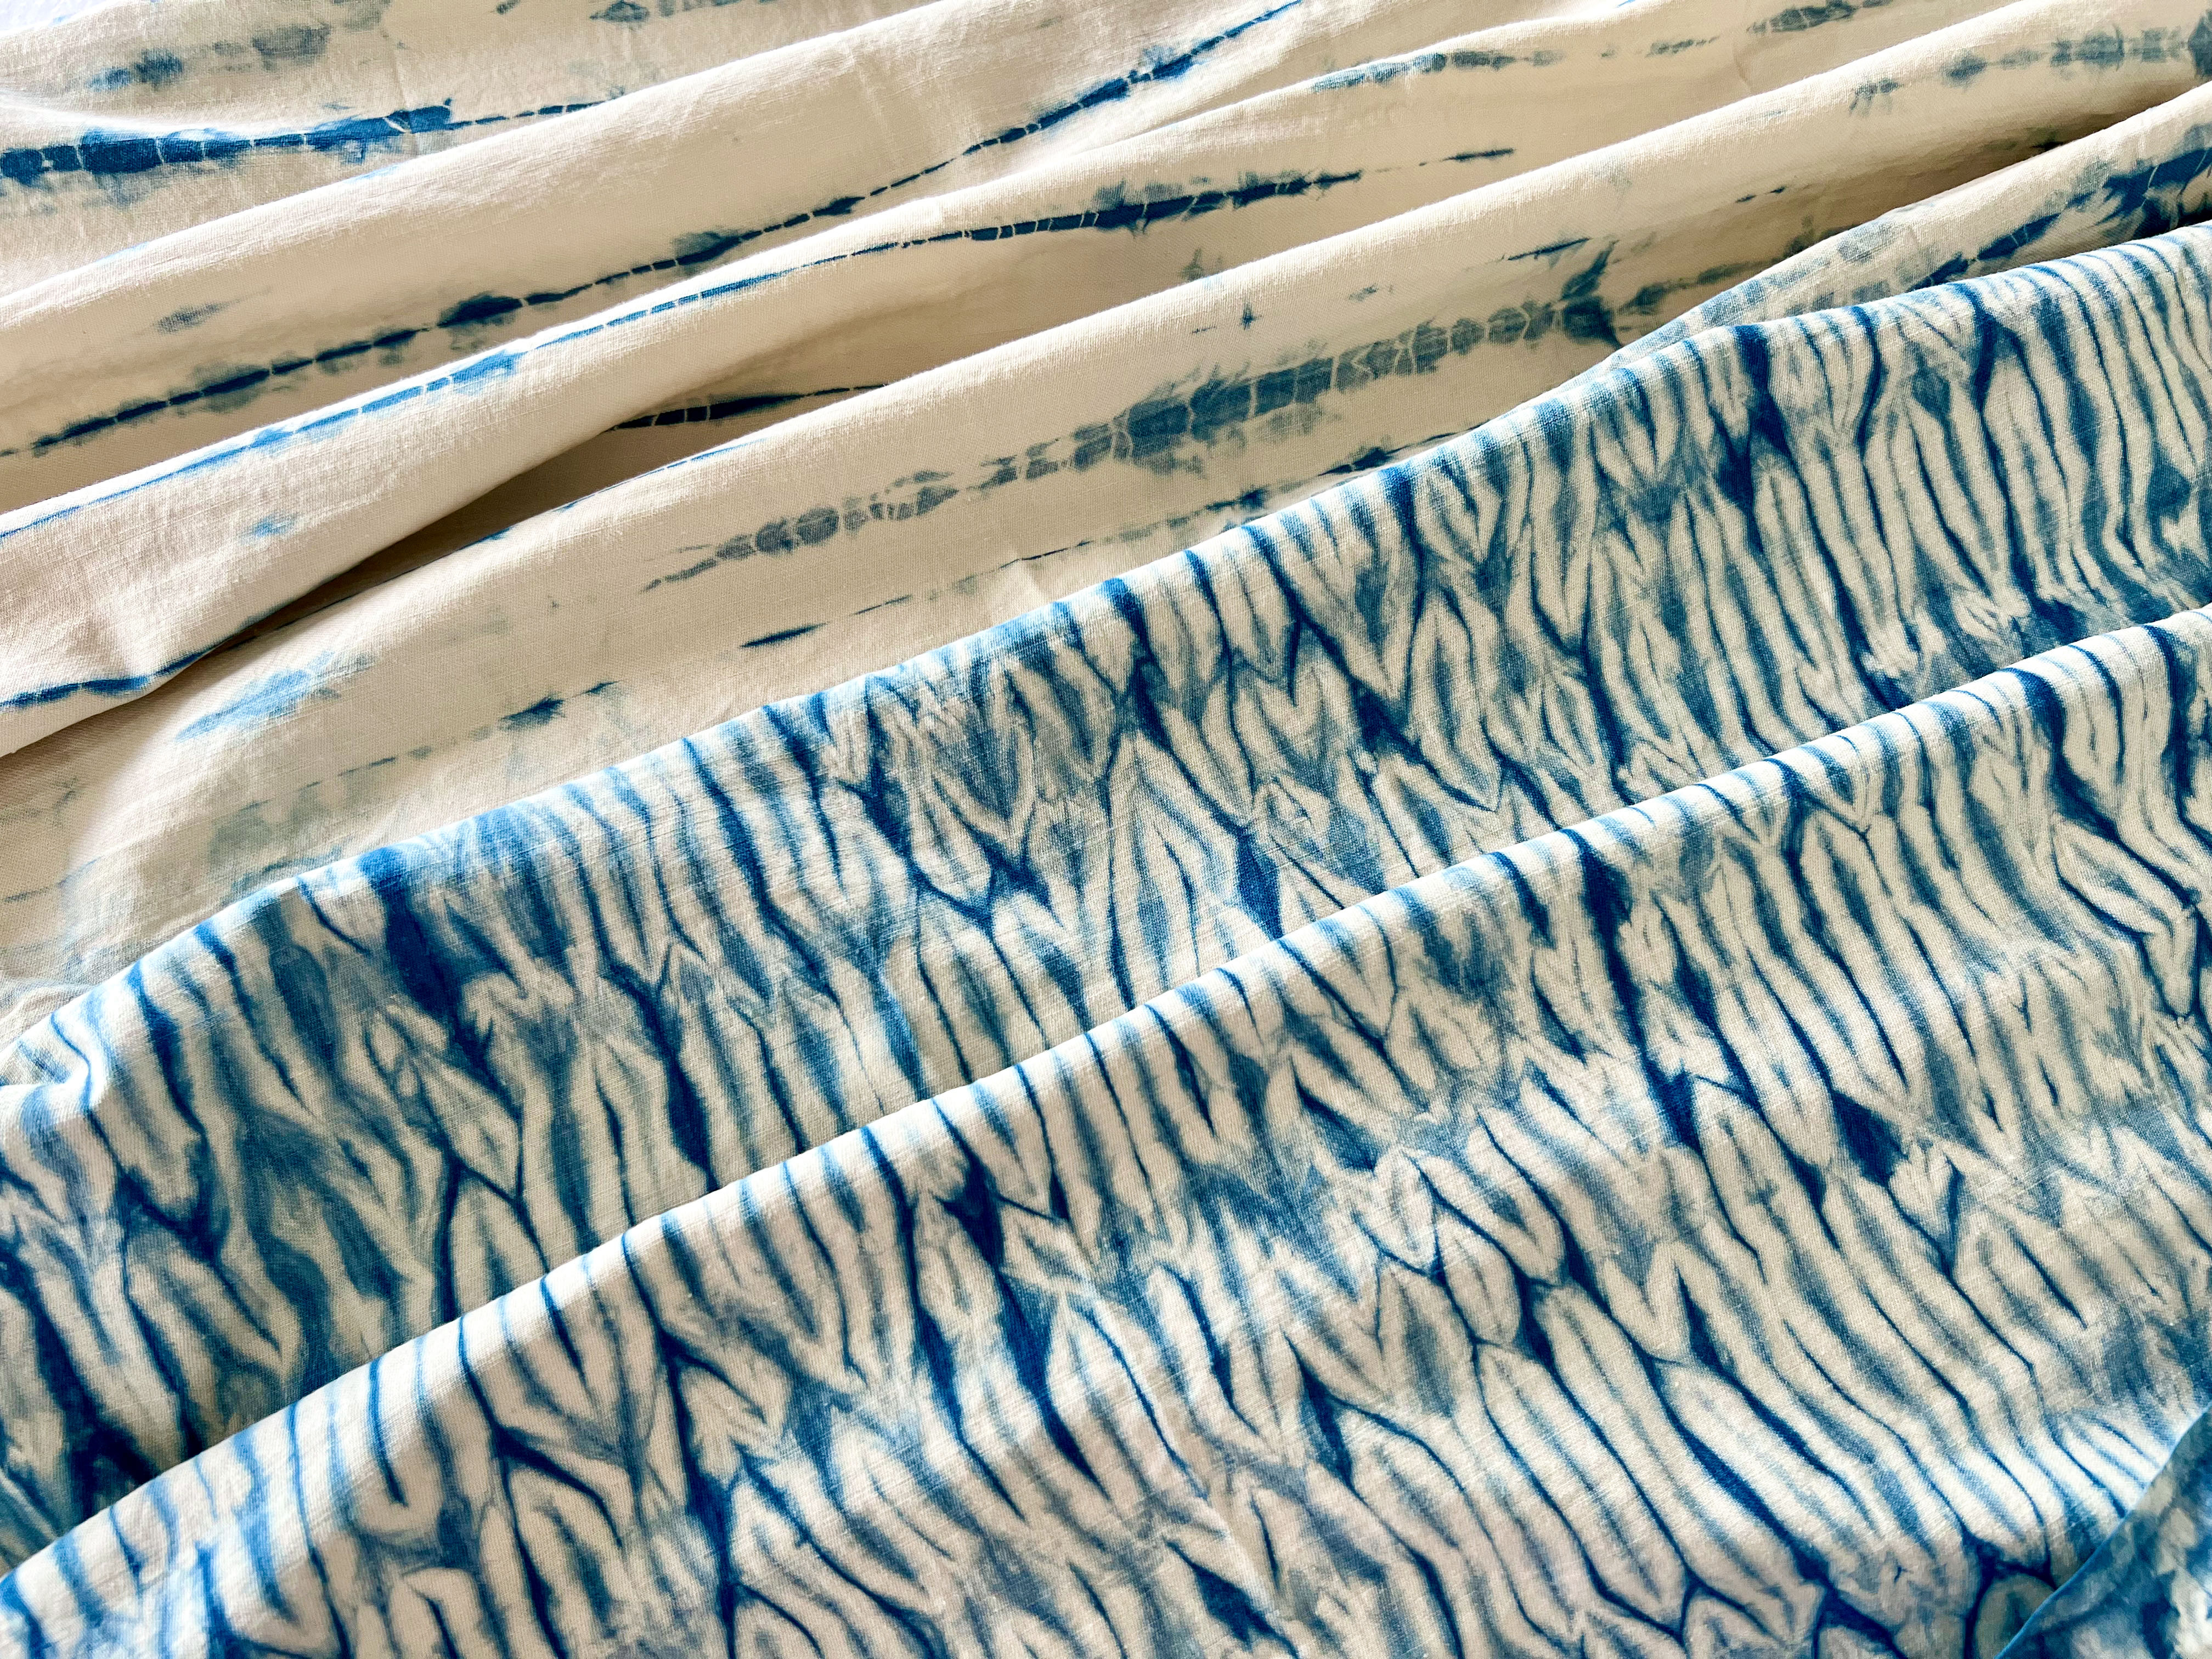
The last of the blues were the shibori pieces. The bottom piece below is a stitched technique I've used before, and although time-consuming, I'm pleased with the results each time. The top piece is a willow pattern, which I will definitely use again. The third piece wasn't really a success as I didn't have a wide enough PVC pipe to use. I ended up cutting it into smaller pieces and re-tying in various ways. Those will likely end up in a quilt back or some such.
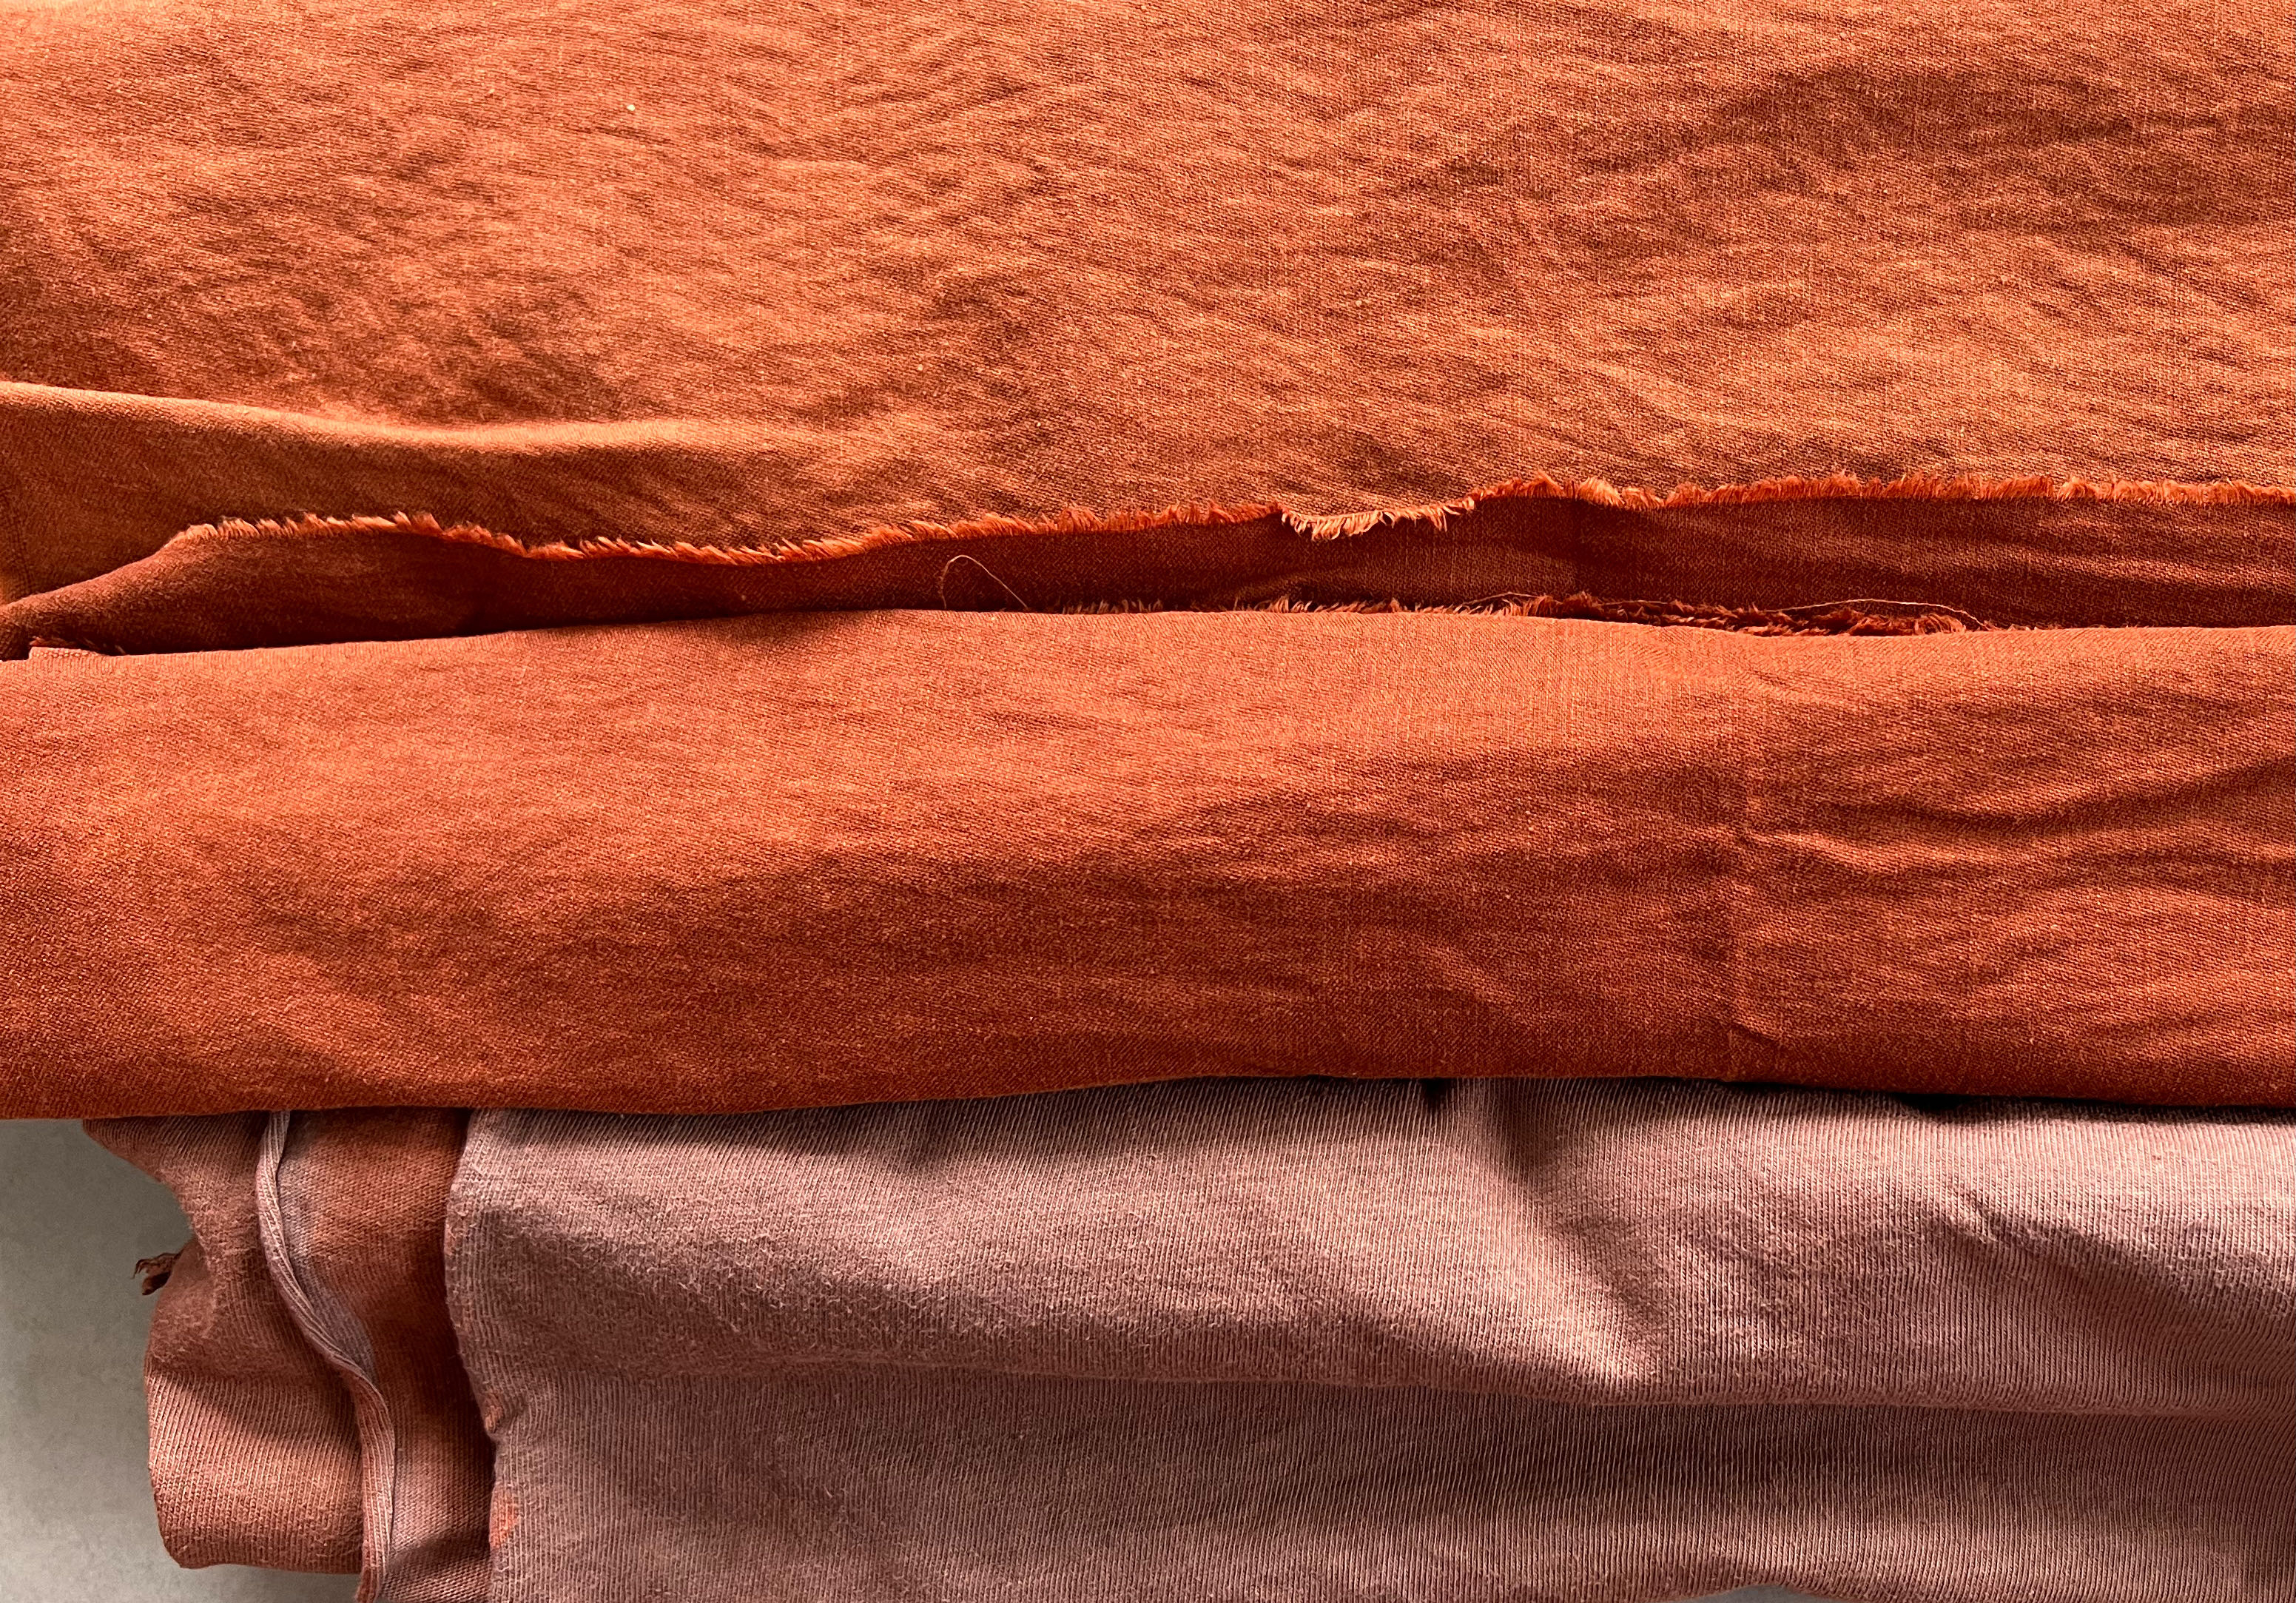
Next were the browns. Even with only two shades to manage, there's barely any difference (top two fabrics below). Dyeing the brown produces a really bright colour to start, but it's much paler on drying and takes a lot of dipping to achieve something rich and intense. I dyed my first pieces below when the pot was really warm, almost too hot to put my hands in, and I suspect that's the difference (compared to the ones I dyed on my workshop days). Putting the fabric in stone-cold water may be next to useless.
One thing the brown dye did show up were the faults in my fabric. A more dense weave at the top and bottom near the selvedge and a thicker thread running through the middle. Once seen, it's definitely visible on all the solid dyes, but I'm just viewing it as added interest and the hand of the maker – who knows really?
The bottom fabric below is an Alabama Chanin jersey. My aunt chose two deadly boring colours for me to sew up for her. They were so dull... Thankfully she's since embraced some bright colours that suit her much better, but it leaves me dealing with the leftovers. I'll see if this is any more inspiring once I give it another wash. Sadly I think it's the back of the jersey that's taken the colour better than the front shown below.
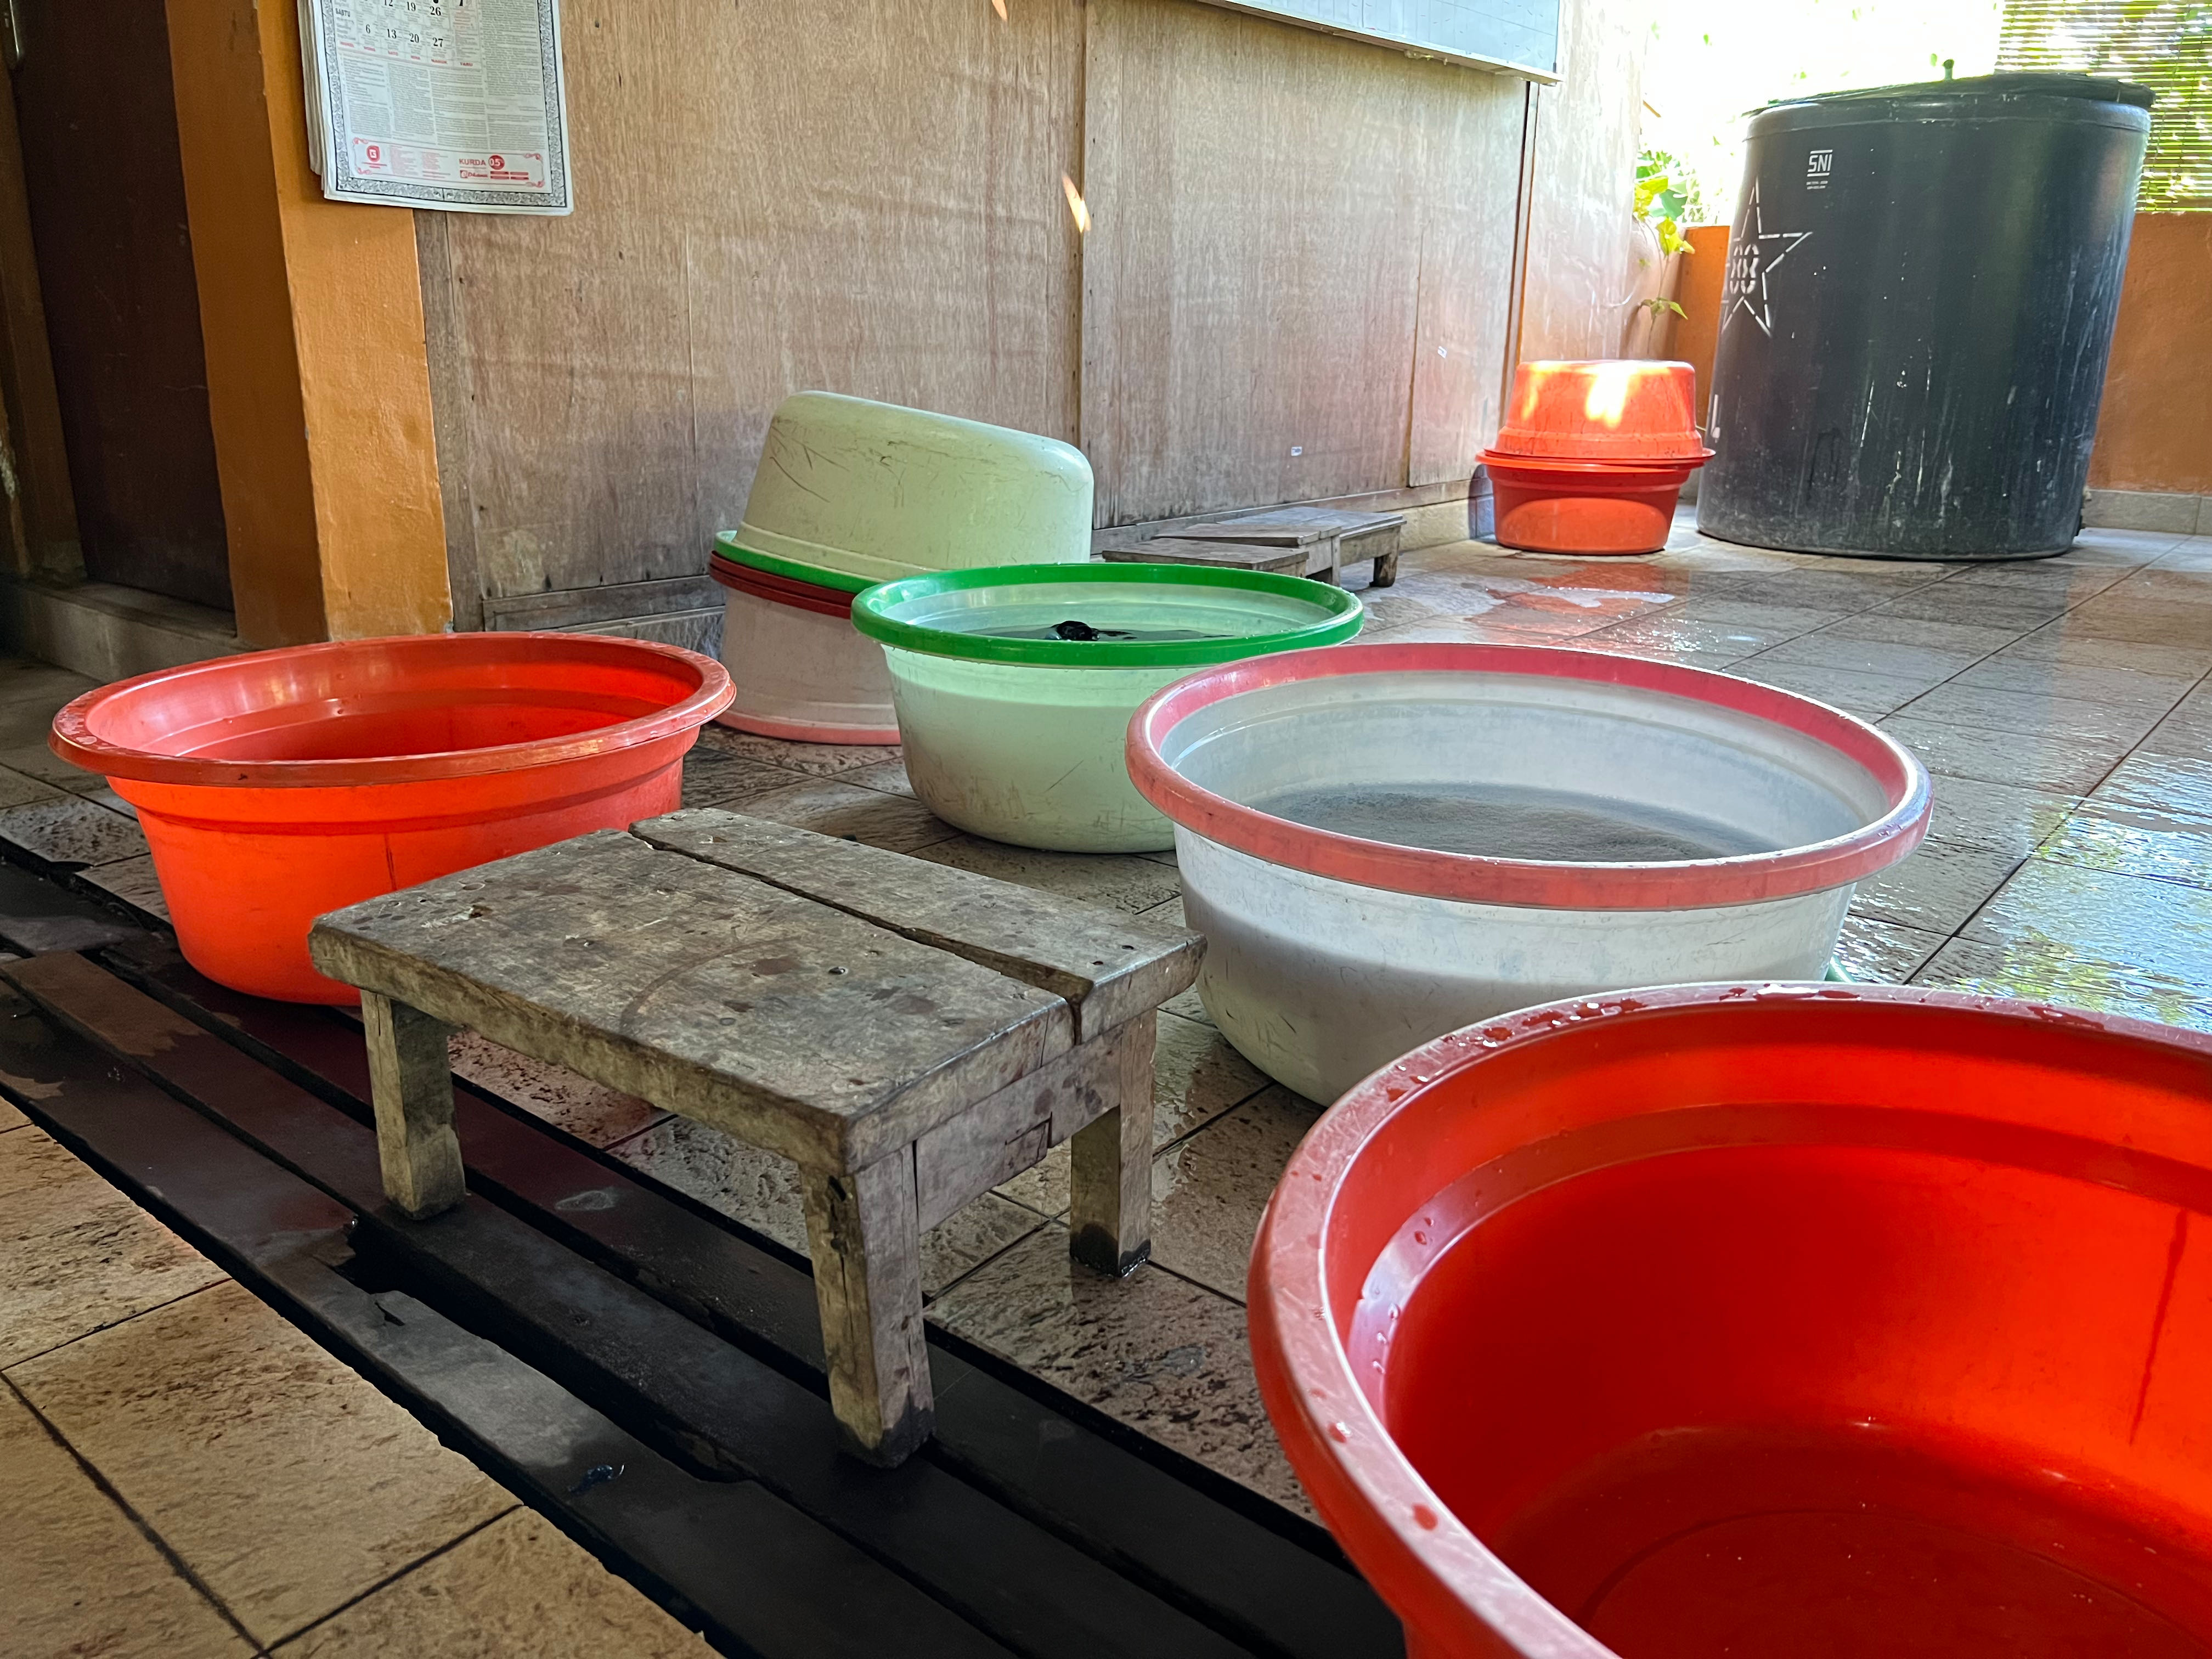
The equivalent of one full day in the studio was spent washing and finishing the fabrics. This was my seat for all of Saturday. It's the big stool... I kid you not. Most of them are at least an inch shorter and have half the surface area for planting your backside. That black drum in the distance is 650L and is tall enough that I rest my elbows on it when dipping my hands in for dyeing. That should give you some sense of scale for the stool. It's a wonder I could get up from it to be honest!
It was a really good feeling when I hung it all out to dry on the end of the fourth day and could look at what I achieved. Almost everything turned out as I hoped and I'm looking forward to getting back to the sewing machine after this burst of much-needed inspiration. I'm already planning a return trip!