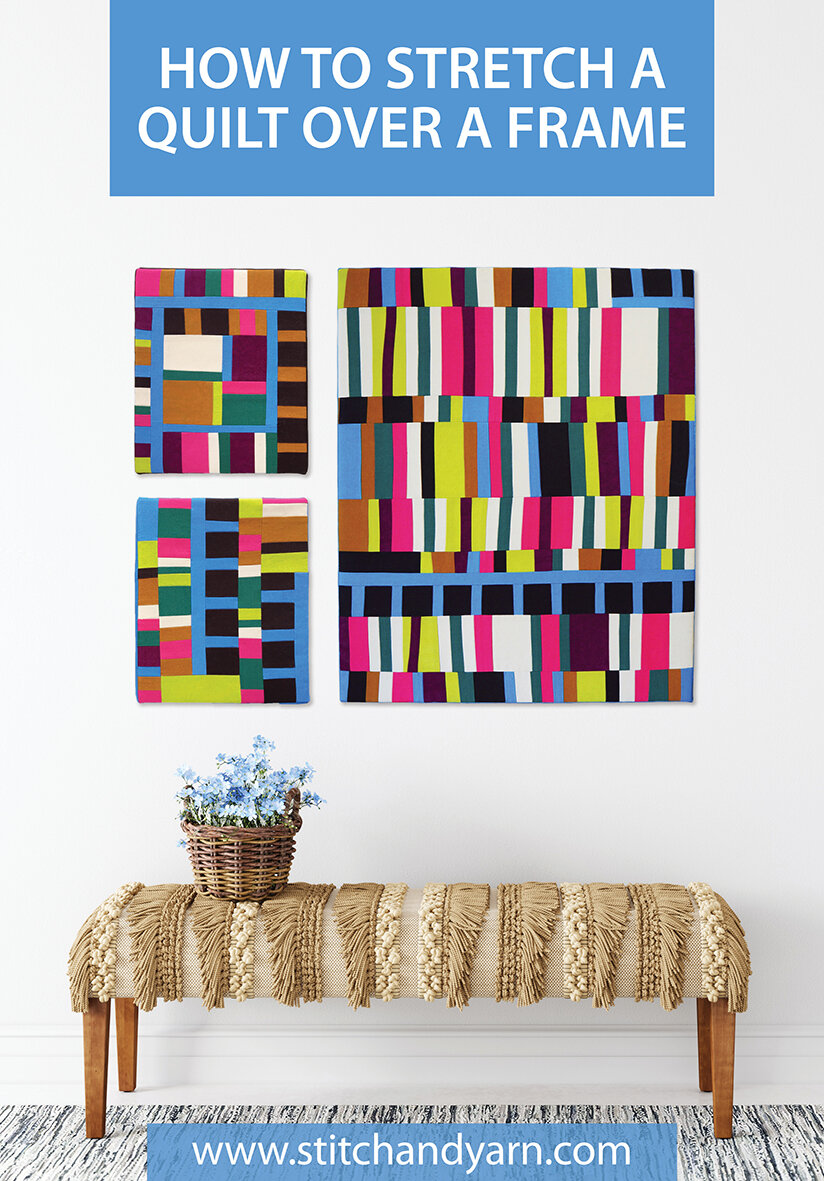
How to stretch a quilt over a frame

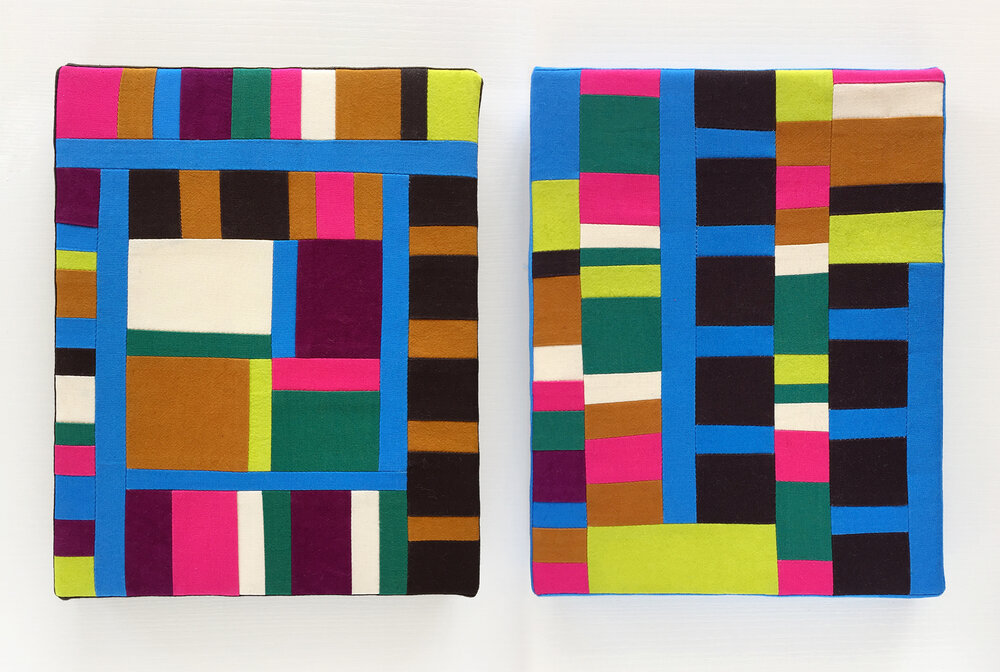
If you've been on a zoom call with me this pandemic, or seen one of the interviews I've done recently, then you'll have noticed a large stretched quilt behind my head. That was my first attempt at this technique over a decade ago – far from perfect, but not bad enough to make me take it down!
Recently, I’ve refined my process to create a cleaner, more durable finish (no more seams threatening to pop!). Stretching a quilt takes practice, so don’t start with a piece you’re emotionally attached to. Instead, begin with something small and low-stakes, and take your time.
One key tip: don’t make your quilt fit your stretcher bars – order stretcher bars to fit your quilt. I get mine pre-assembled and slightly smaller than the finished interior dimensions (seam line to seam line where the borders will attach). This ensures a better fit and a more polished result.

Materials
Quilt top and fabric for a border
Muslin or calico for backing
Wadding
Stretcher bars
Cutting mat, ruler and blade
Sewing machine
Hand quilting needle and thread (if tying the quilt)
Pins
Fabric scissors
Pen or pencil
Iron (and a tailor's ham if you have one)
Staple gun or glue – my staple gun is electric which really gives it that extra bit of power
Before we quilt, the first thing to do is cut back the same size as your quilt top. We need enough so the edges are hidden behind the stretcher bars, but not so much that it adds bulk to the corners, so matching it to your quilt top is perfect. The easiest way is to lie the quilt top (or flimsy) face up on your backing and cut around it.
Quilting
Now we can get onto quilting. I don't want my quilting to show here so I'm going to tie it. You can quilt your piece as normal if you like but don't order your stretcher bars until after you've quilted as the quilt will shrink.
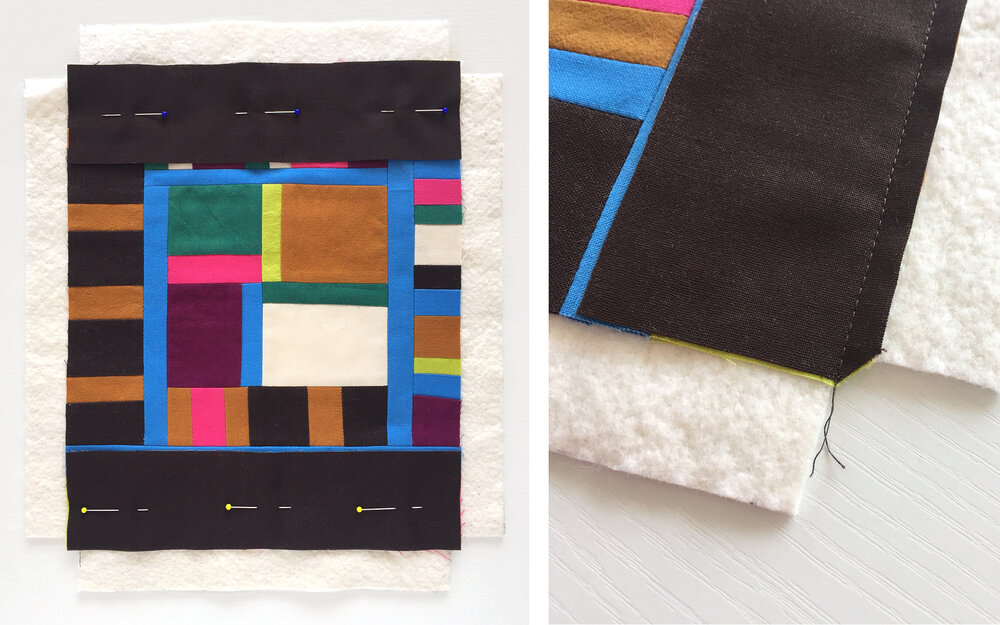
Make sure you have enough wadding around the edges of your work to allow for the width of your stretcher bar and then some. I'm just allowing an extra half an inch in addition to my stretcher bar width, but if you're working with a larger quilt it would be hard to centre it in such a small measurement, so give yourself extra room.

Next, baste the quilt. I've spray basted, but you could also thread or pin baste. Remember though, that pin basting may leave pinholes and you won't be able to wash the quilt to remove them with this technique.
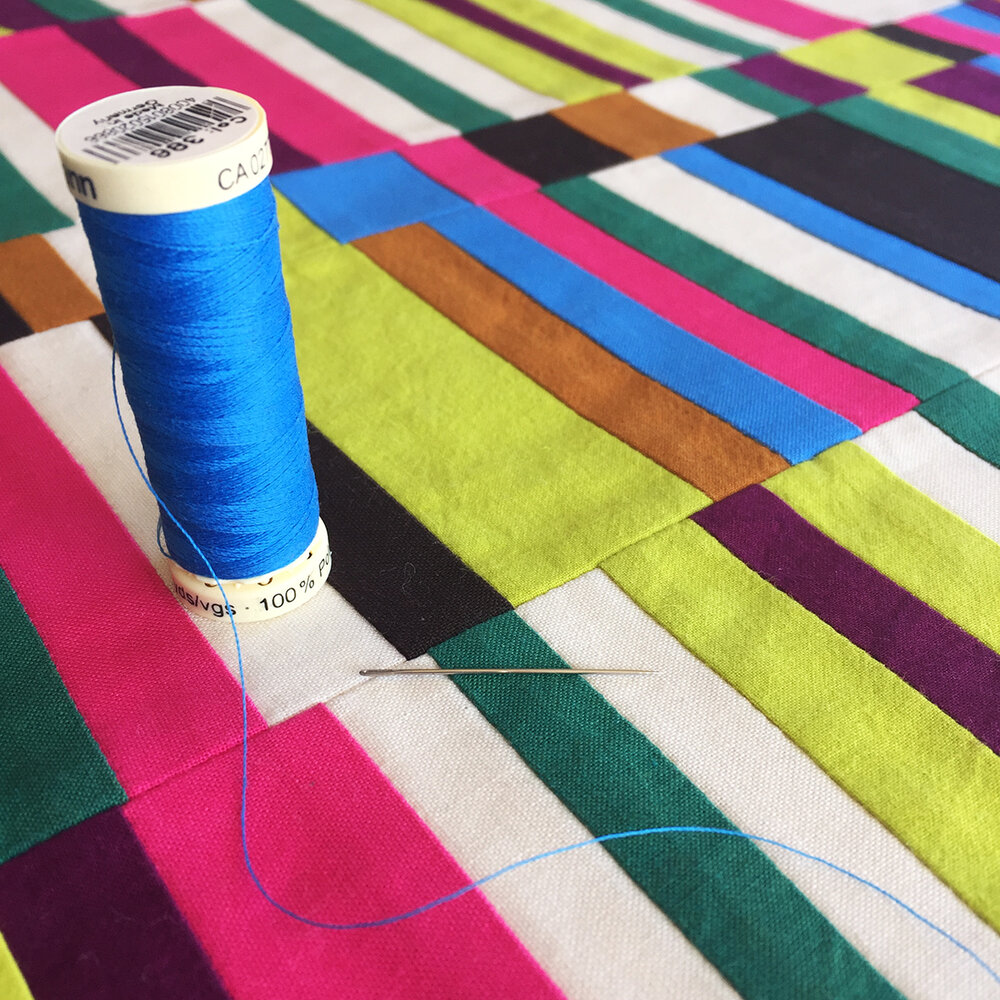
I've just tied my quilt with standard sewing thread in the same colour as the block I'm going to be stitching through. Stitching in the ditch will mean your quilting will be invisible.
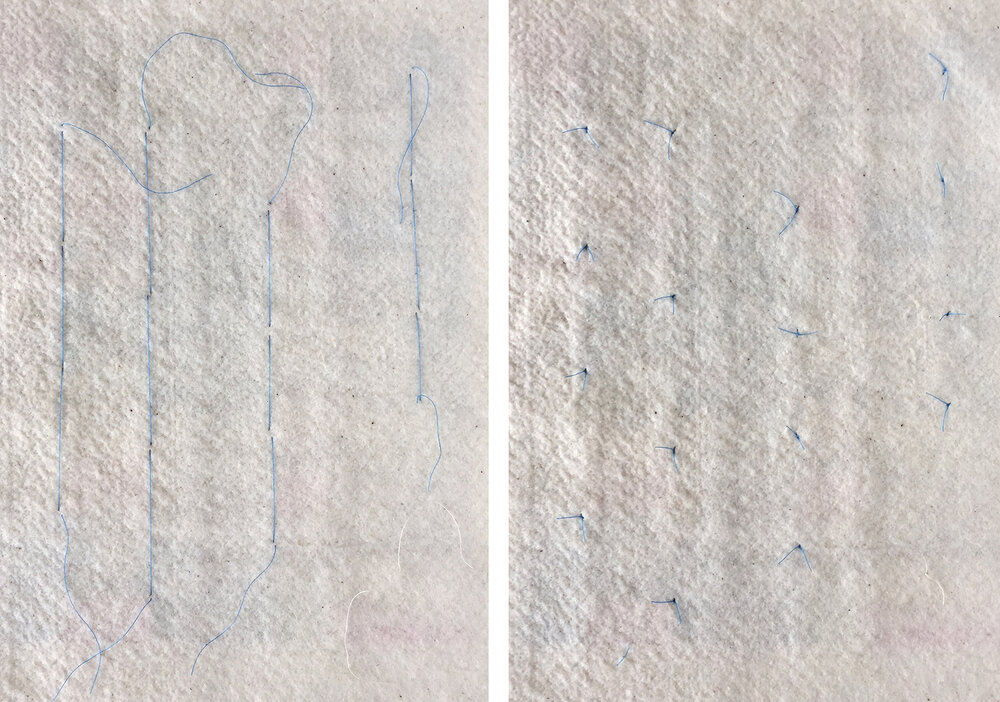
These stitches are very small, made about a hand-width apart. If you're unsure how to tie a quilt there are plenty of tutorials online. Just remember, that instead of tying on the front of the quilt for effect, we're tying on the back of the quilt for stability. It's not the easiest thing to see, but below left is a picture of the back once the stitches have been made and below right is after the threads have been snipped and tied.
Be like Goldilocks with your tying – not too loose and not too tight, but just right! If the tying is too loose the quilt face can slip or puckers and if the tying is too tight it drags on the stitches when you're stretching over the frame and they become visible.
Wadding
Now we're going to remove some of the wadding bulk, first from the corners. With your ruler overlapping your quilt edge by 1/4" (ie where the border will be sewn on) draw lines out beyond the quilt at either edge of the wadding.
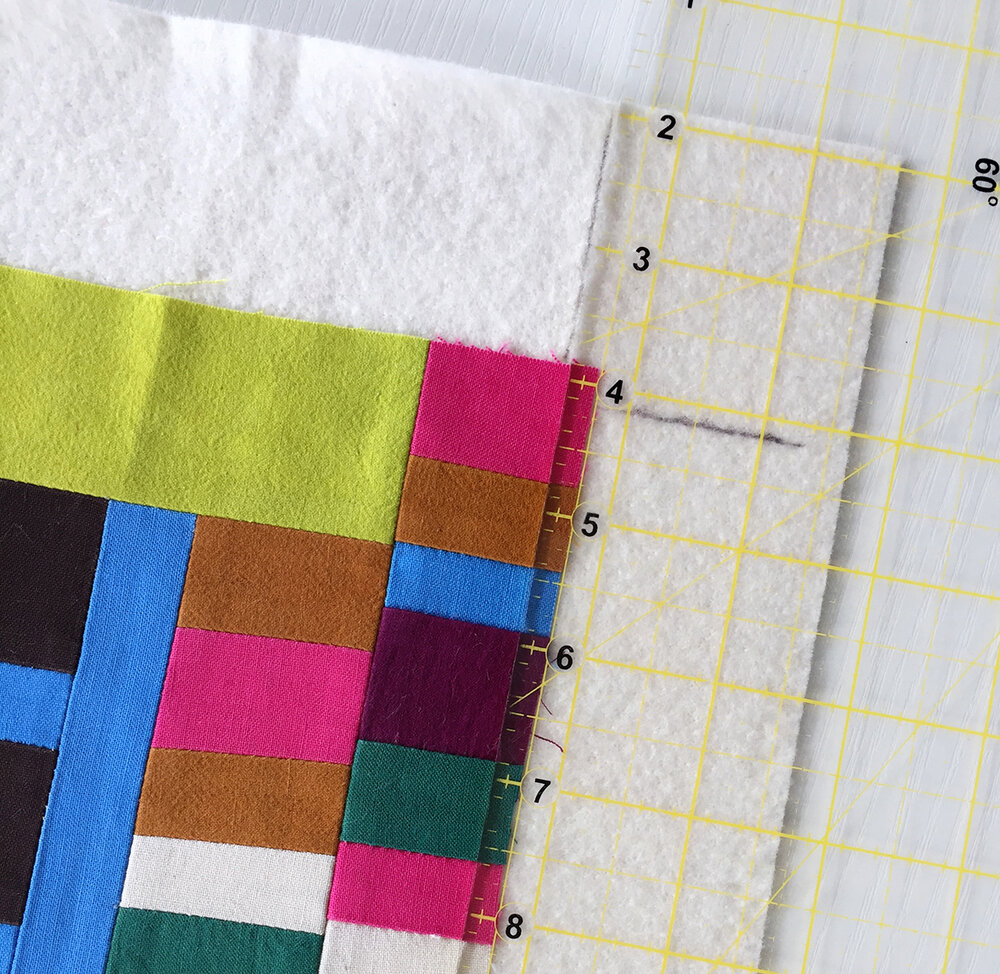
Do the same on all four sides. Pin the corners out of the way and cut along the lines (I find scissors easier at this point) removing the corners of the wadding.
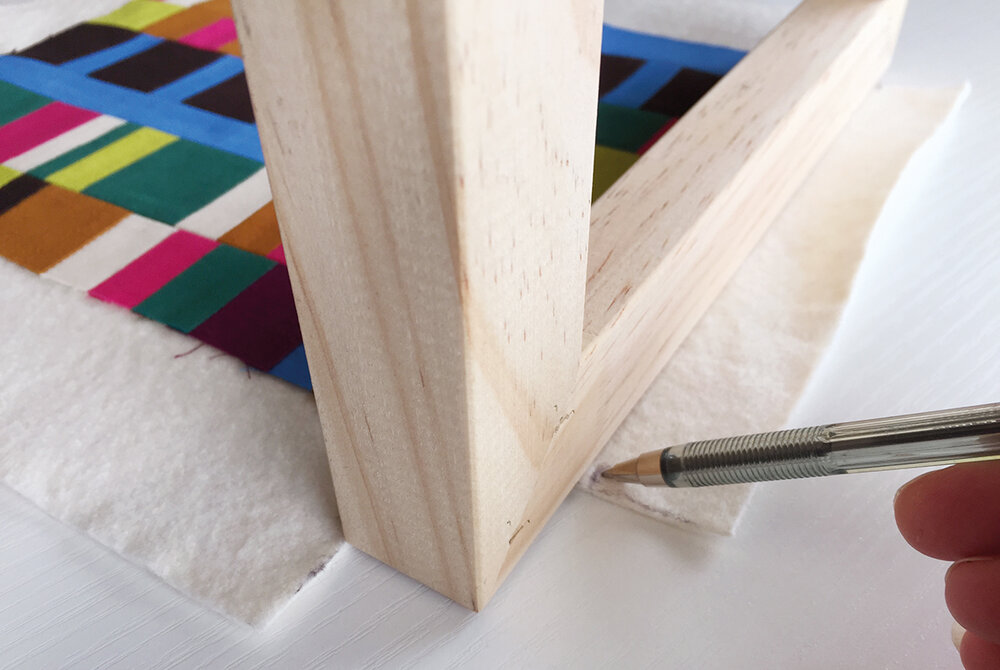
Next, trim the wadding down so it will stretch down the side of the stretcher bars, but not around to the back. I prefer not to have my wadding go around the back of the quilt as it adds extra bulk and makes the corners trickier. However, it does make it easier to remove the staples if you need to, as you can get a flat screwdriver under the wadding more easily.
The distance to measure is the exact depth of the stretcher bars, with the frame sitting 1/4" in from the edge of the quilt – allowing for the seam allowance where the border will be attached. Basically, sit your stretcher bars along the edge of the wadding that's been trimmed from the corner (as shown below). If you want to have the wadding go around the back of the frame and not just around the sides, add an extra 3/8–1/2".
Back and borders
This is not the normal way of things with a quilt, but it's now that the borders are attached.
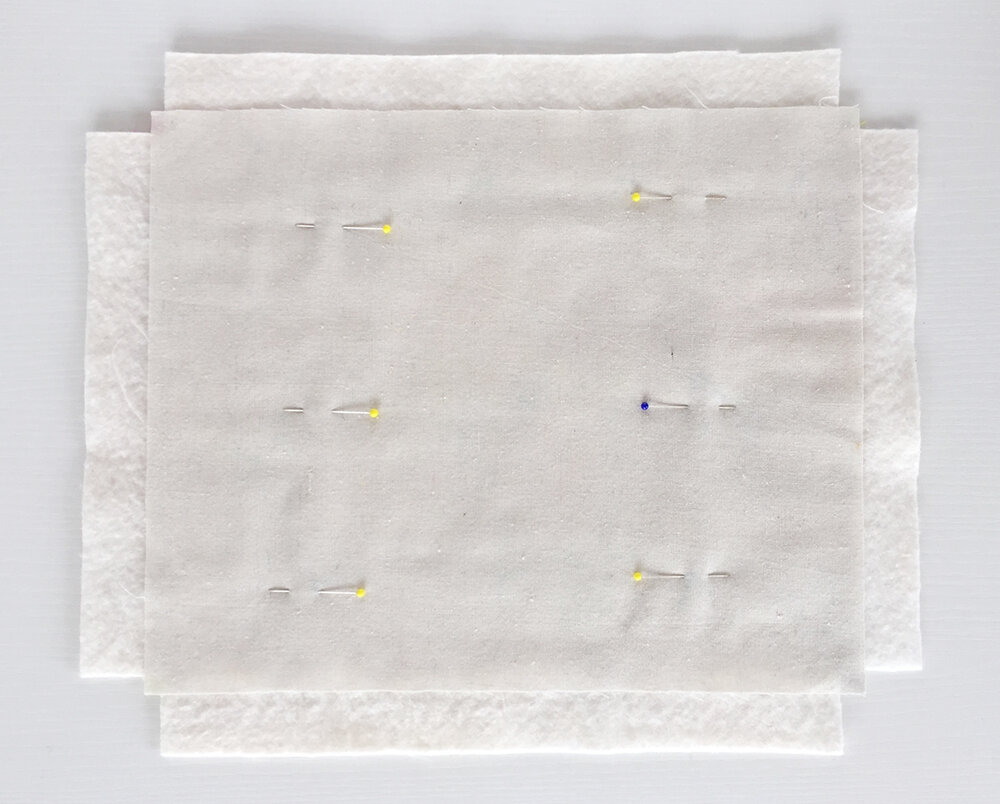
First pin the back to the wadding, lining it up at the visible corners of the front. Place the pins away from the edges as they'll stay in place while the borders are sewn on the other side. You could spray baste (or thread tack) your backing in place if you prefer and that might be preferable on a larger quilt.
I'm attaching my top and bottom borders first but it doesn't matter if you start with the sides. The border top and bottom are the same length as the existing flimsy and the width is:
1/4" + the depth of stretcher bars + 5/8"
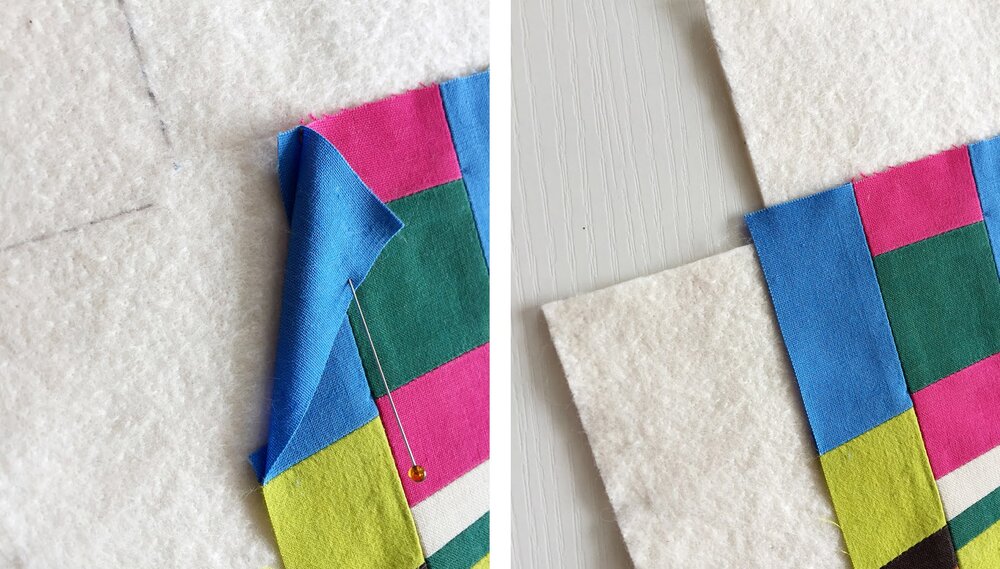
Attach them with a 1/4" seam, then before pressing open, clip the corners on both the front and the back of the quilt.
Left:
Pinning top and bottom borders to the quilt.
Right:
trimming corners at the front and back after sewing borders.
Iron the borders back and then top stitch. Now iron the border and wadding to the back to create the crease line for framing.
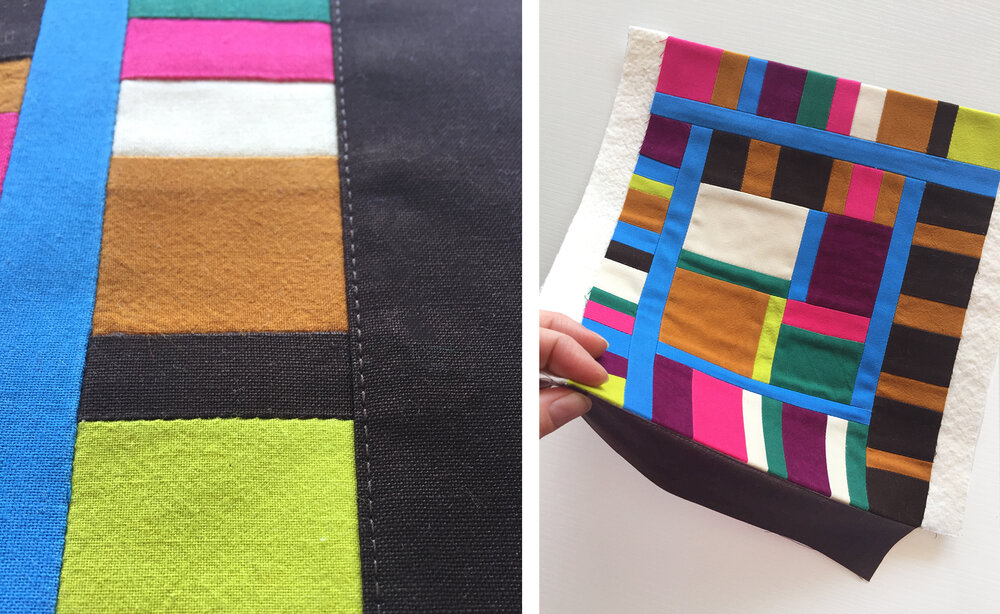
Left:
top stitching.
Right:
Ironing borders over.
Flatten out the quilt again and attach the side borders. They should be as long as the flimsy plus top and bottom borders and again the width will be:
1/4" + the depth of stretcher bars + 5/8"
Iron the border back, top stitch and then iron the border and wadding back to create the crease line.
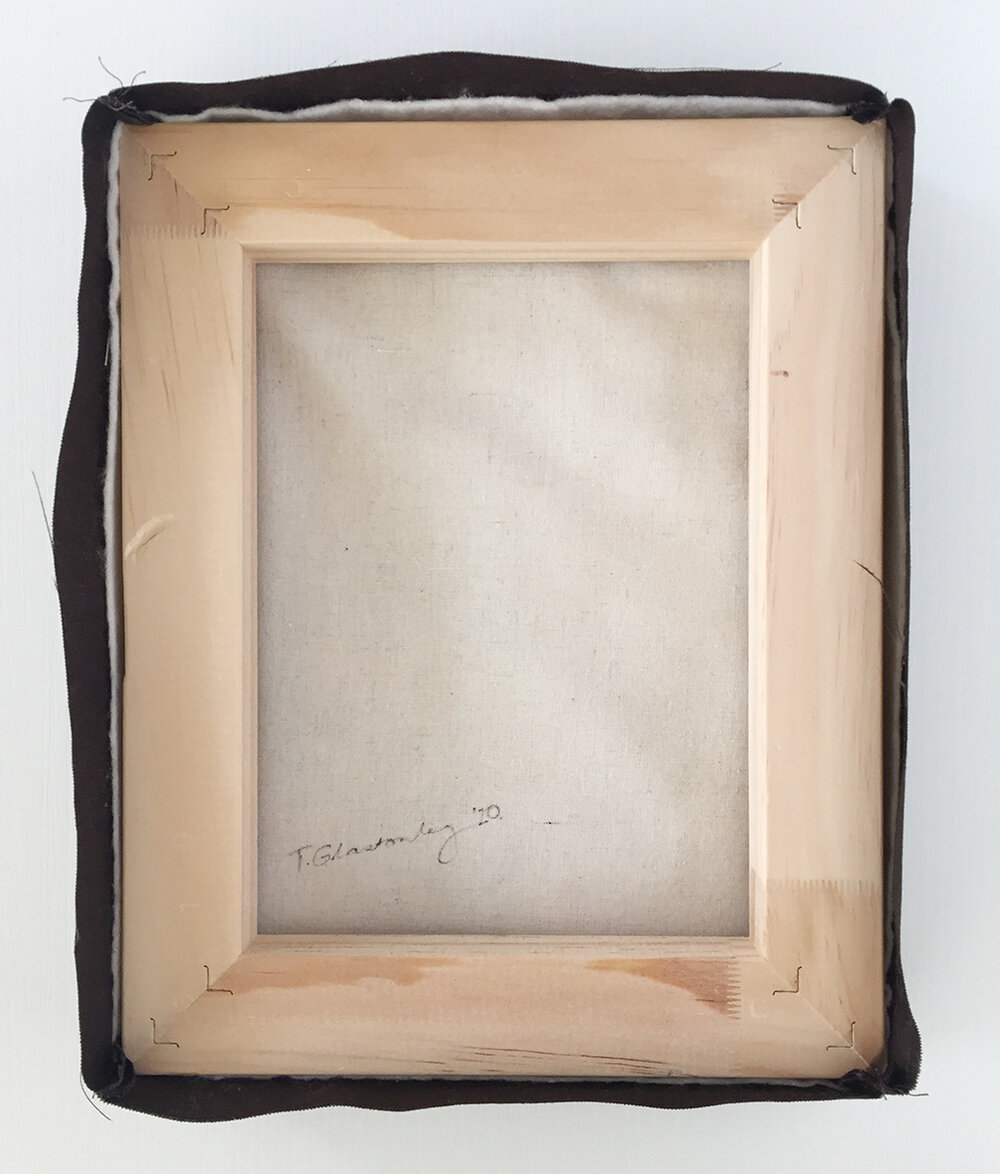
The next step I do is to sign the back of my quilt. It's too hard to do once the quilt is framed. Just remember to allow for the width of your stretcher bars when signing. Note how the back looks on each edge – a row of stitching to attach the border and a row of top stitching.
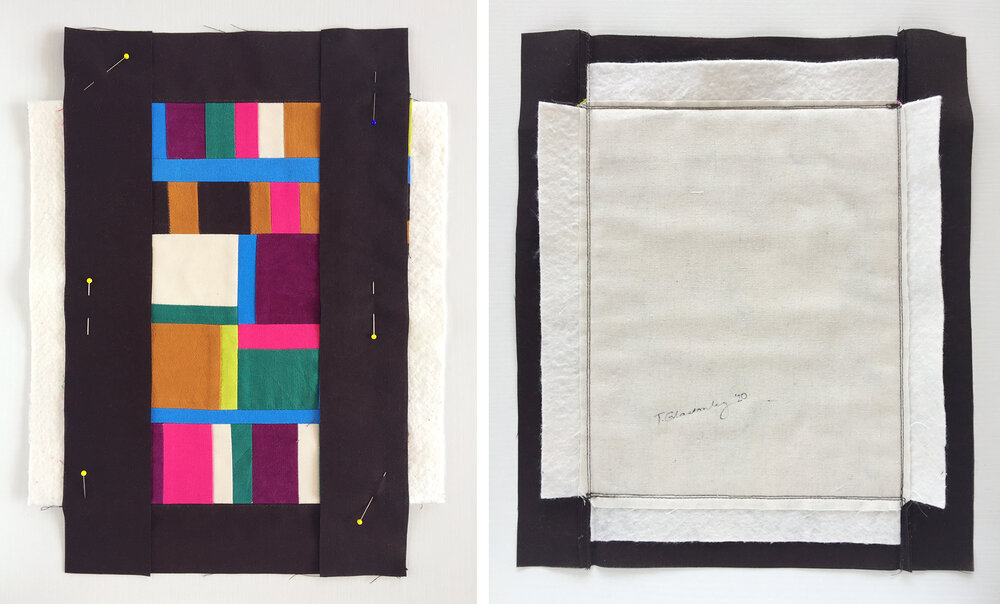
Left:
Sides pinned ready for sewing, pressing, top stitching and pressing back with wadding.
Right:
Signed back.
Creating the frame nest
This is the last step before stapling (or gluing) and it's here we're removing the bulk in the corners so there's no awkward folding later.
Working your way around each corner, with right sides of the border fabric together and the border seam line facing you, feel to line up the wadding edges on either side and pin. The reason you want the seam line facing you is that we'll be sewing just inside that line so the border seam won't be visible on the right side. This will mean that for two of the corners you'll be sewing from the corner to the edge and for the other two, from the edge to the corner. Reinforce the stitching at either end as this seam comes under the most pressure.

Left:
Pin corner fabric right sides together.
Right:
Sew just inside the seam line as marked.
When you turn your corners out the other way they should look like this.
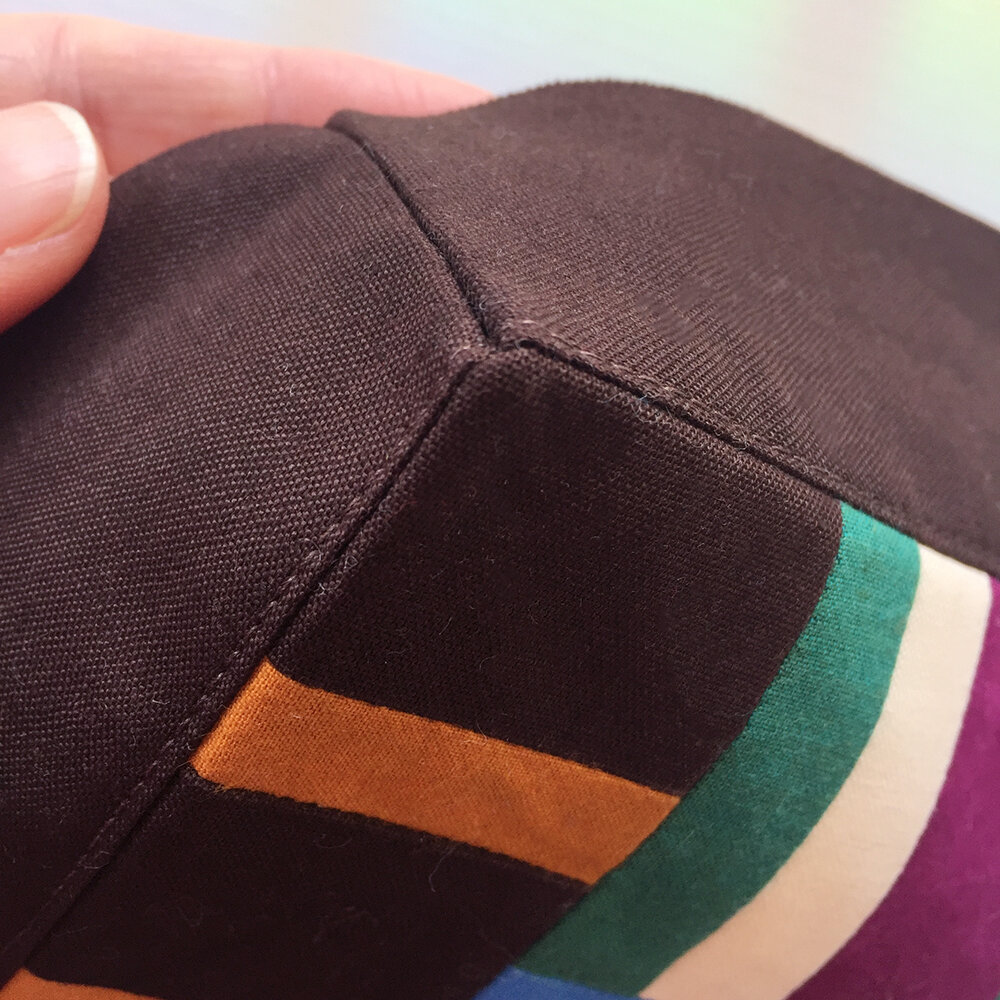
On the wrong side there will be a flap of corner fabric that can now be trimmed off. I trimmed my on the cutting mat with a blade and ruler and left a standard 1/4" seam. If you've got a tailor's ham it's worth giving everything a bit of a press at this point.

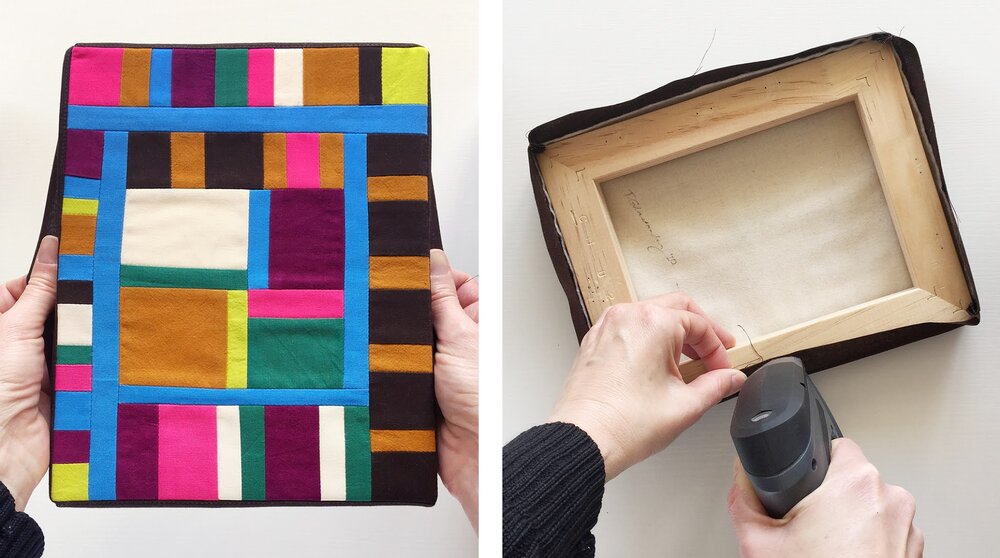
Now place the frame inside the nest. Inserting one corner at a time, make sure the wadding is sitting flat and ease the corner seams either side, or to one side, of the frame.
Final step!
Now it's time for stapling or gluing. Stapling requires a fair bit of effort and pressure, so if your hands and arms aren't up to it, gluing might be a better option. In that case glue the wadding to the frame first, stretching it and then clamping it in place as you go. Clamps can be removed after the glue is dry and then the borders can be glued down and clamped.
Either way, look on the front side first and make sure your frame is sitting evenly in the nest. Stretch the work as you go and keep checking the front as you work. If stapling, first place a staple in the centre of each side of the piece.
Continue working from top to bottom and side to side, out from the centre staples. Leave yourself a bit of room at the corners to fold the fabric under. Using a butter knife helps push the fabric neatly in place.

After stapling the corners you might still need one more staple either side of each corner. Sometimes I need to hammer a staple further in if it doesn't quite hit the mark. If your arm is getting tired, it's better to stop and rest as wonky staples can be difficult to remove and sometimes snap off in the wood, making them extra difficult, if not impossible, to remove.
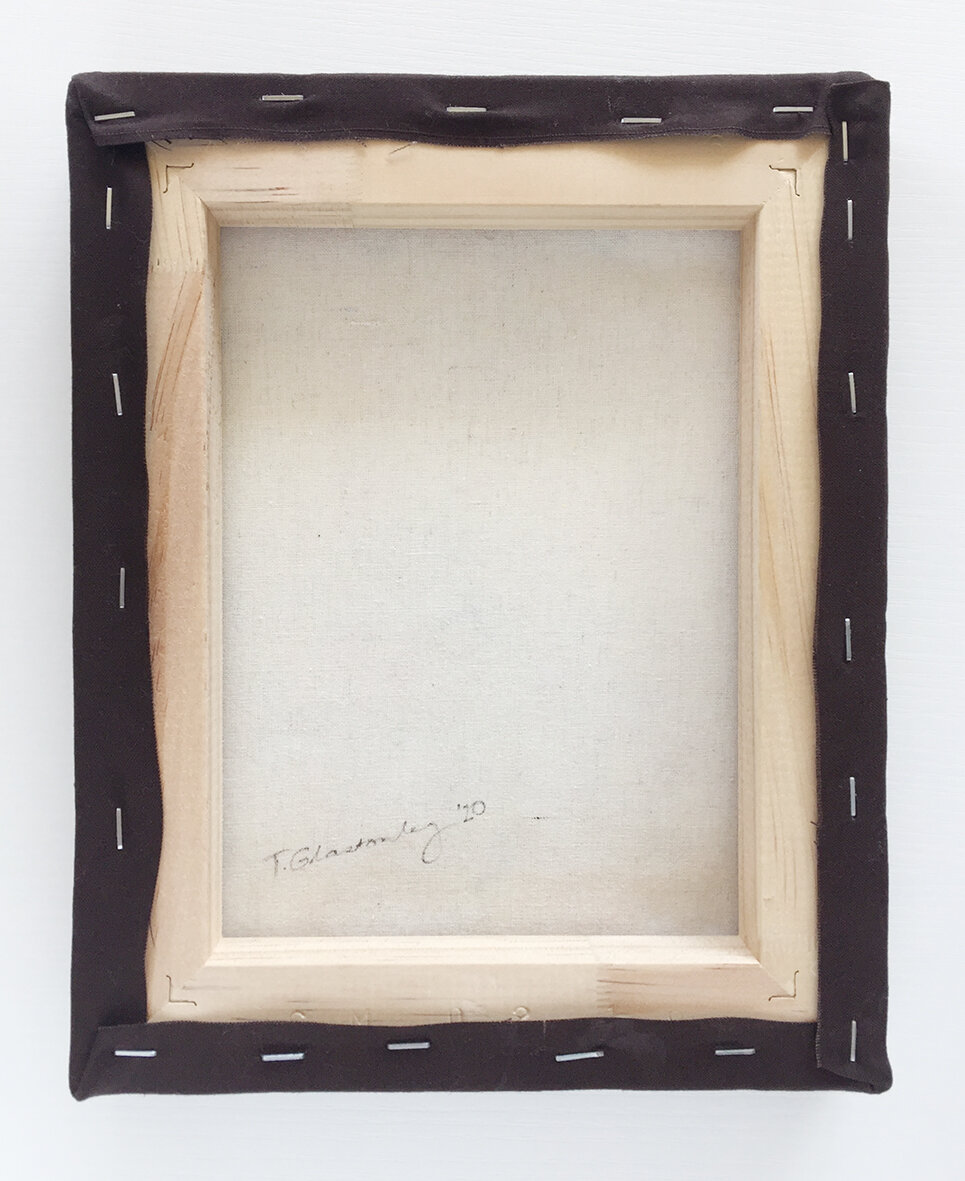
Hopefully after stapling the back looks something like this. I'm slowly getting neater each time I try this technique – practice makes perfect!
And there you have it! I'd love to hear how you go with this technique. There are plenty of tutorials online and I've just taken what works for me. Definitely get in touch in the comments if you have questions, or even letting us know how you stretch quilted works if you have additional tips.