
Surfacing sewalong week 1
Cutting fabric
Welcome to the first week of the Surfacing sewalong! Over the next few weeks, we’ll be sewing step by step to complete your quilt. Surfacing is a great pattern for getting comfortable with curves, and this sewalong is here to help with tips and encouragement along the way.
This week, we’re cutting fabric. I have to admit, I’m not someone who cuts all my fabric at the start – so you’ve got two options here:
Cut all your fabric in advance.
Cut the lettered background pieces (and a few extras), then cut the rest section by section as we go.
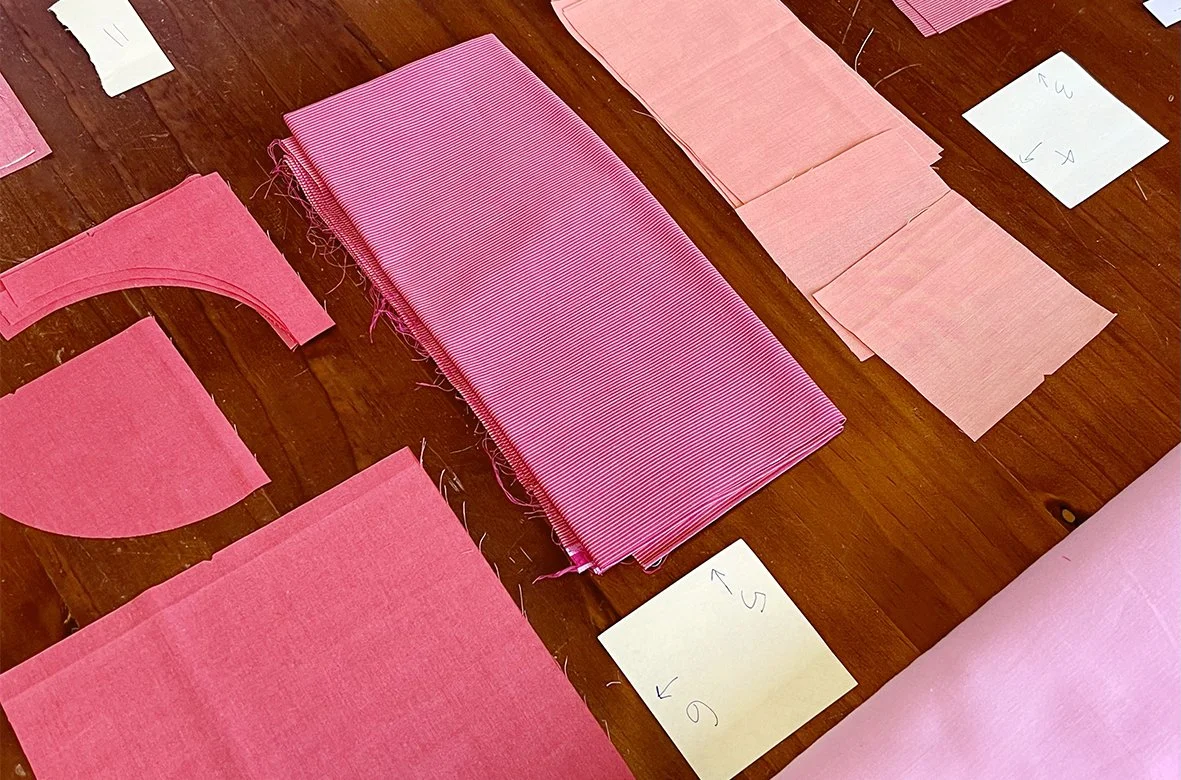
I’ll be taking the second approach. As you can see from the photo below of my queen-size version, I kept the uncut fabric in labelled piles too, so I could easily keep track of which fabric was which..
Gathering your tools
Before you start, make sure you have everything you need:
Rotary cutter: Have you changed your blade lately? A new project is the perfect time to do just that.
HOT TIP: If you’ve got a 28mm blade, it’s a great choice for cutting the concave curves. Lean slightly away from the template when cutting to avoid nicking the edges and accidentally shaving bits off it.
Cutting mat: You’ll need plenty of space for these first big pieces. I actually do my cutting on the floor for this step – it gives me room to spread out.
Acrylic ruler: A longer ruler is helpful for these initial sections.
Fabric: Start with the background colour.
Labels: Staying organised is essential with this quilt with its large background pieces and range of similar-looking colours. Use small scrap paper labels or sticky notes to identify different pieces and colours. Trust me – this will save you so much time (and frustration) later when you’re ready to sew.

Behind the curtains
I thought I’d pull back the design curtains and share my cutting plans with you. I always find myself wondering how other people tackle cutting large amounts of fabric for backgrounds – having a plan like this in mind helps me cut in a sensible order.
The cutting plan does not replace the instructions. They’re just meant as a visual aid so you can see how the pieces will fit on the fabric.
The first image below is for the throw, and the second is for the queen. If you’re taking a staged cutting approach like I am, start by cutting all the lettered pieces as indicated in the pattern. Then, cut yourself a column of arches and one of concave shapes (those marked with the red arrow). It’s handy to have a few of these ready to go when you start sewing.
One thing to watch out for: see the circle on the throw image? It shows that the ‘A’ shape on the throw is slightly shorter than the two shapes below it. So, don’t cut across the full width of fabric using the ‘A’ measurement.

Background fabric layout for the throw size.

Background fabric layout for the queen size.
Have a question?
If you have any questions about cutting, or get stuck along the way, don’t hesitate to reach out. You can leave a comment below, send me an email, or get in touch on social media. I’m here to help!
Share your progress
I’d love to see how you’re going with your fabric cutting. Share your progress on social media using #SurfacingSewalong or #SurfacingSlowalong.
Next time, we’ll be piecing the first sections of your quilt. For now, happy cutting!
