
Tall Poppy sewalong 5
Are you ready for your second poppy? This week we’ll be working on our budding poppies, so here are my tips for this block. As with the open poppy, you can choose how you wish to appliqué, but today I’m using a needle-turn approach as I did in the pattern.
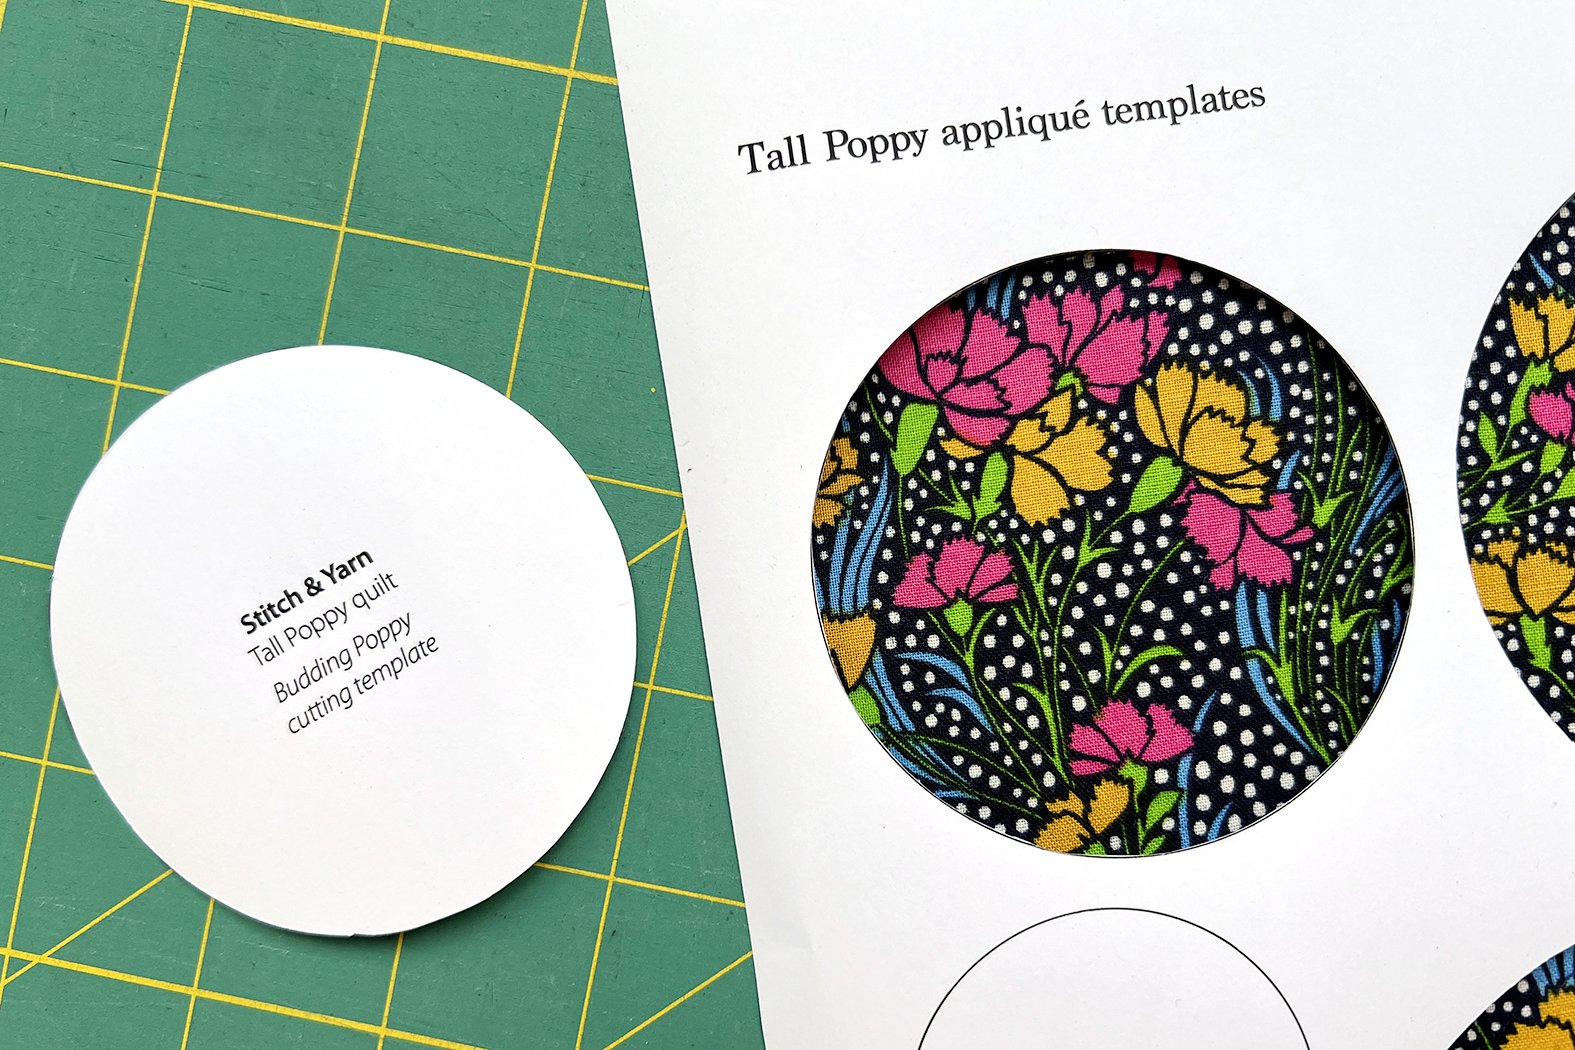
Fussy cutting
Instead of using the Budding Poppy cutting template to trace around the circles on my fabric, I actually use the hole that’s left after I’ve cut it out of the paper (as shown below). This way I can place the fabric design exactly how I want it for each bud. I then trace around the edge in chalk. These templates have quite a lot of seam allowance, so you want most of your design placed in the centre of the circle if possible.
If you’re going to raw-edge appliqué your buds, then use the hole from the sewing template to cut your fabric instead.
Chalking it up to experience
In the pattern I mark the centres to determine where to pin my buds, but I’ve found myself using a different approach to attach them, so to make it easier to see where to place things, I now chalk up the whole grid.
The buds are quarter of an inch in from each end and 1” from top and bottom. Each bud is 2” wide with half an inch in between.

And the thing I’ve been doing differently to attach them? I’ve been keeping the papers inside until after the bud is stitched on.
This way, when I cut the excess fabric from the back, there’s no way I’m going to accidentally cut through the bud. I then just fold the seam the other way to pull the paper out.
NOTE: if your buds are a light colour and your background fabric is dark, you can clip the seam on the background fabric and iron that seam outwards.

Two down…
Don’t forget to use the tips from post 4 to sew your budding poppy unit to the leaf unit.
And as with the open poppy block block, I’ve also sewn my sashing to the right of this finished budding poppy block.
We’ve now well and truly passed the halfway mark, so I’ll see you back here to do our last poppy unit – the snowflake poppy, before we construct the top.
As always, feel free to ask any questions in the comments below.
