
Tall Poppy sewalong 7 and final!
I have to confess, I’ve had a gap in my quilt this whole time… I wasn’t happy with the pattern placement for the very directional print so decided to wait until the end and make the open poppy head again. This time with half circles instead of quarter circles.
If you fold your fabric in half and then put the seam line of the template up against the fold for both the convex and concave shapes then it works a treat, and I’m so much happier with the result – though geez, I was literally cutting it fine with my limited fabric.
The design wall with a hole in the top row waiting to be filled.

So, now we’re ready to construct the top! Be sure to read the pattern as well, these are just a few extra tips.
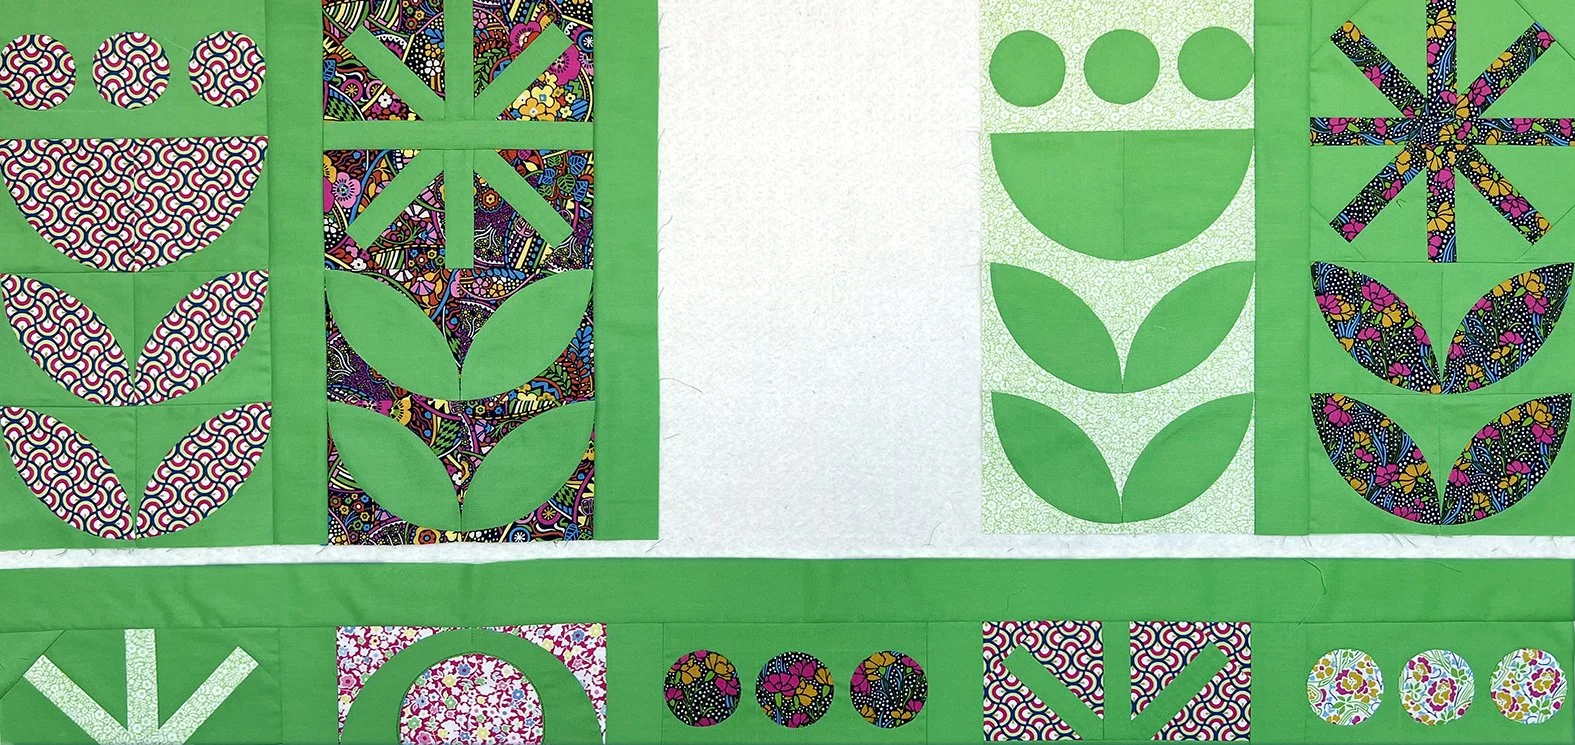
If you were like me, and sewed your short sashing pieces as you went, then you may already have your rows constructed. If not, now’s the time to do that.
Next up is the long sashing. I pin mine from the centre out, with the sashing on top of the completed row, keeping the pins about 3/8” from the edge. I do this so that I can sew from the other side so I can see any seam lines I need to cross and still keep all the pins in without my needle hitting them.

Pinning from the sashing side, far enough from the edge so I can sew a quarter inch seam from the other side while leaving the pins in place.
Lumps and bumps
Once your three rows of poppies are joined with the sashing, the last step is adding borders. To save yourself any heartache, it’s worth doing a simple check first.
Lay your quilt out on the floor and smooth it out from the centre to the edges. If any of your sashing strips look like speed humps (below left), it means that seam needs to be a bit bigger to use up that excess fabric. Otherwise you’ll have wavy borders that will never sit flat.
In the image below, I unpicked the right side of the sashing seam approx back to the pink cross. I then smoothed the quilt out again and drew a chalk line where I needed the new seam to go (below right). It was about 3/16” in from where it was the first time. Once back at the machine, pin the seam in place against the chalk line and sew along the old seam line on the sashing.

Now you’re good to add your borders. Starting with the top and bottom ones and again pinning the same way we did the long sashing. Once sewn and pressed, trim excess fabric back to the edge of the rest of the top, making sure each corner is kept at a right angle (that square ruler comes in handy again!).
Last come the side borders following the same method… And then you’re done!

I hope you love your Tall Poppy quilt and you’ve had fun making it! I’ve cut all my binding, so I just have to make a back before I send this one off for quilting.
Do share your finishes with me – either below, by email or social media – I’d so love to see them
Thanks for (slow) sewing along!